Showing posts with label Armies in Plastic. Show all posts

Friday, April 29, 2022

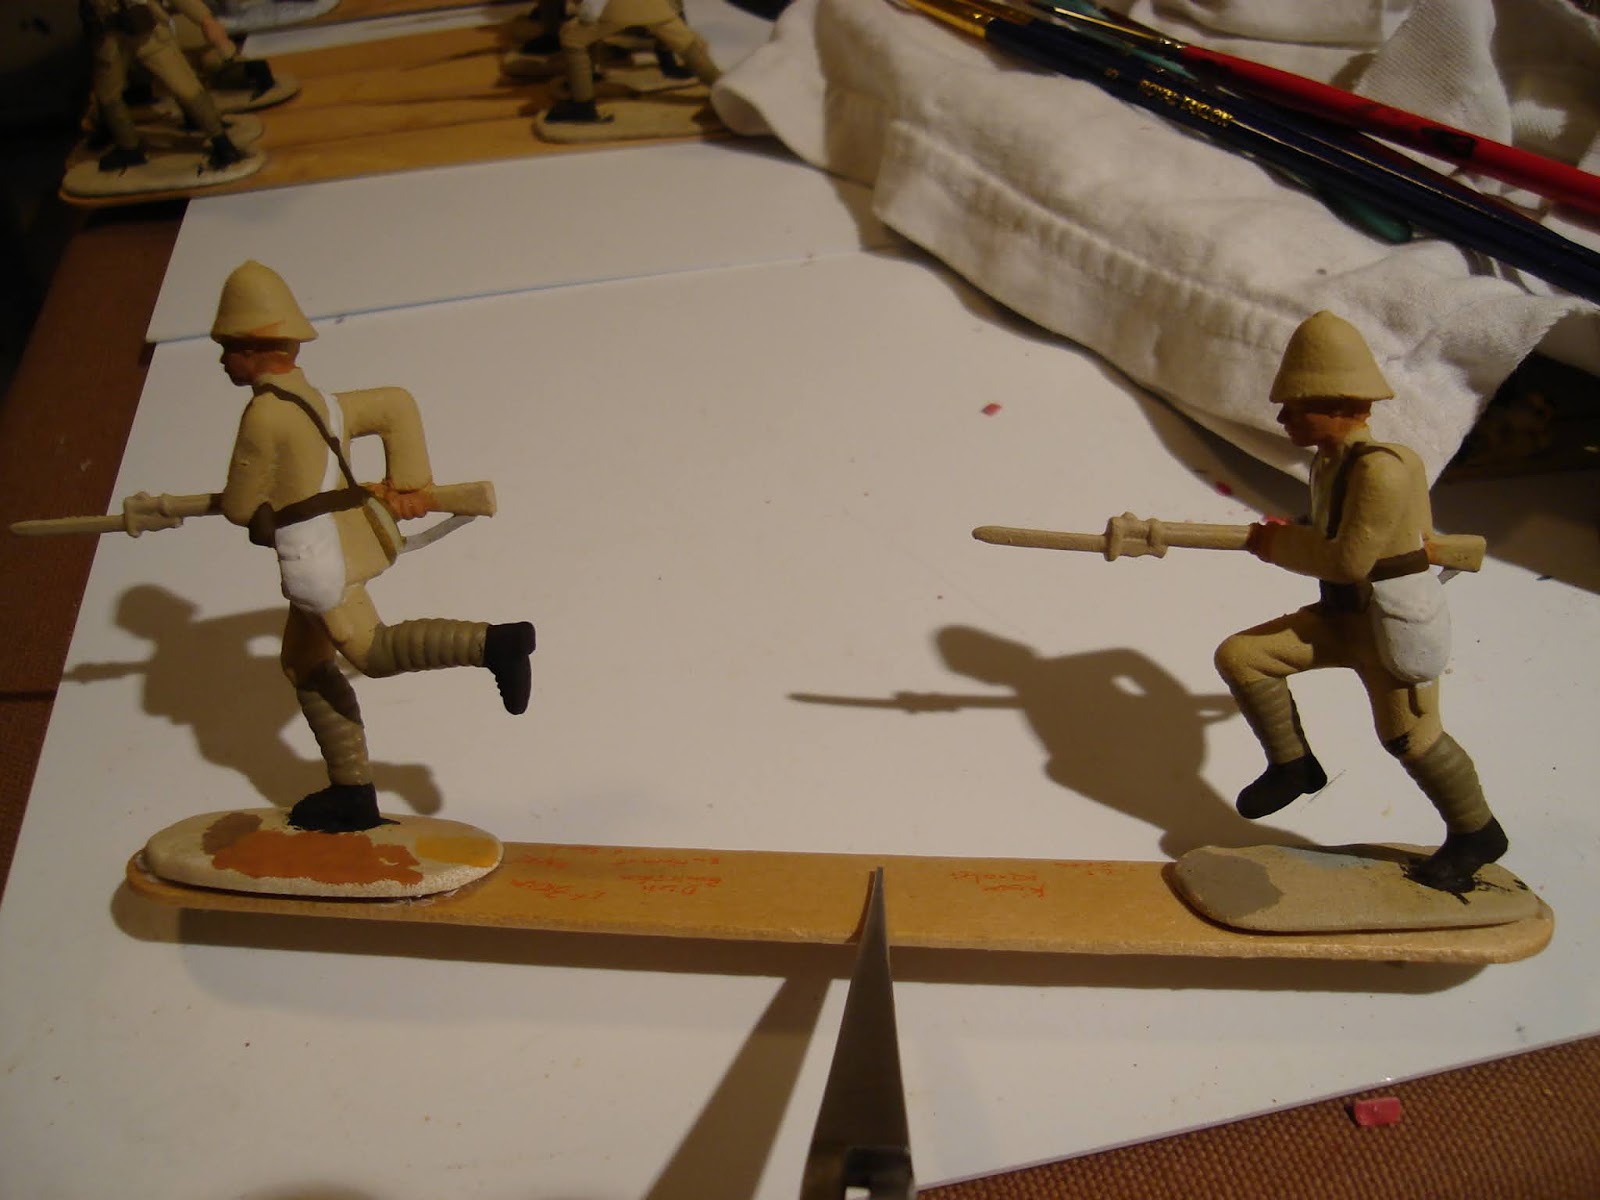
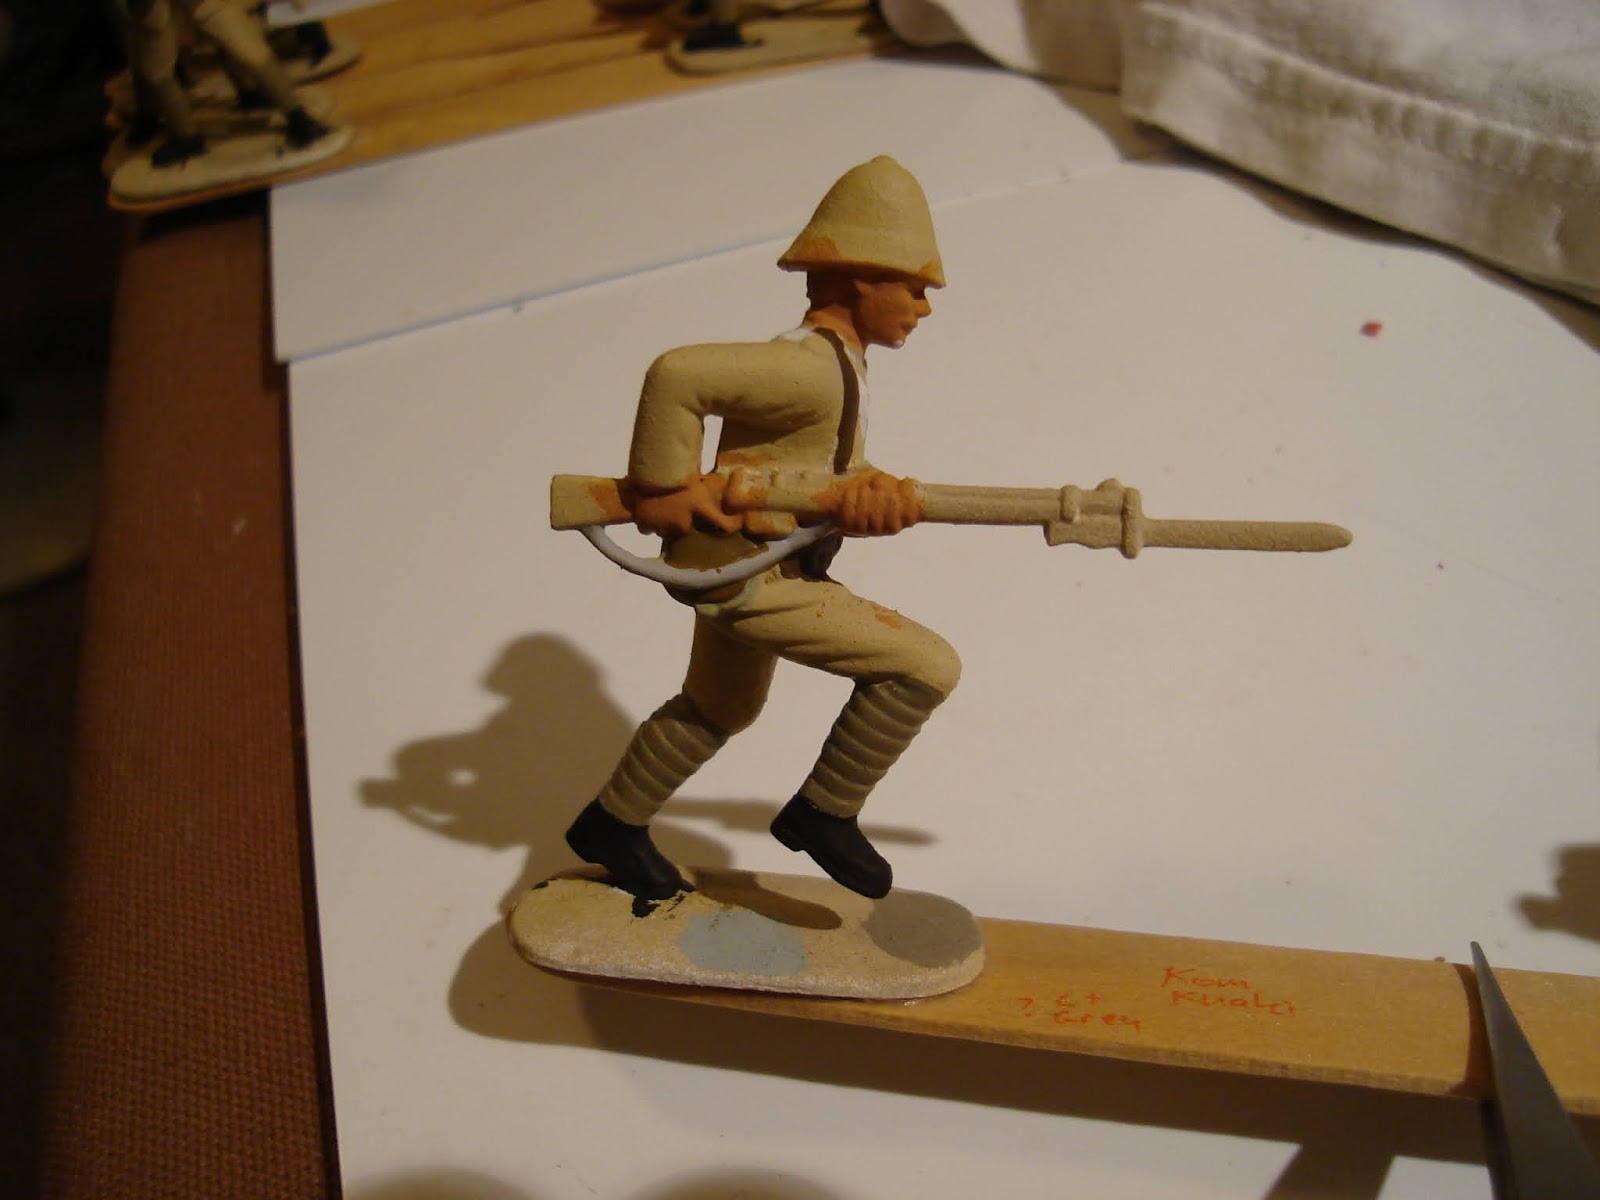
Malakand Field Force prep 6e: Painting Pathans

This project has been languishing - must step it up a bit!  With the Brits nearly done, it is time to consider their adversaries. With a 10/20 ratio, my Brits will have plenty of challenges patrolling the Northwest Frontier!

20 Pathans for priming and painting - a full Armies in Plastic box. This is a great box, perfect for the period in all respects, lively poses, good selection of weapons.
Next to 15mm WWII - ginormous!

PATHAN PAINTING NOTES
Summarized from:
Osprey "Northwest Frontier": Wilkinson-Latham, Robert
Osprey #219 "Victorias Enemies (3) India: Knight, Ian
"The Frontier Ablaze: The North-West Frontier Rising 1897-98": Barthorp, Michael

General
- Basic Garments: 
kullah = headgear, a stitched pointed cap [may be decorated]; 
kufi = popular patterned Muslim skull cap; regional variations, can be pillbox style
angarka = loose blouse or smock
lungi / pagri = long scarf, or sash tied around waist, or around kullah for a turban; can have contrasting stripes perpendicular to length; as turban, appear angled.
poshteen = reverse goatskin vest or coat [embroidered more if more status]
chadar = shawl
pyjama? = baggy trousers, partig were gathered at ankles
chapplis = sandals

Most garments were off-white, but some colors were worn.
- Tribes had predominant but not uniform color combinations:
Waziri = turban in dark red or indigo blue, lungi in dark blue/red or pink
Kurram Valley = dark blue angarka w' white patches [similar to dervishes]
Afridis in Khyber Pass [also Mamunds and Swatis] = grey or blue angarka [but mostly white?] w' off-white trousers. Lungi has contrasting stripes at ends perpendicular to length.
Bunerwals = dark blue or black garments
Many captured items of gear would be used, such as ammo pouches.

- Weapons
talwar = curved sword
chora = triangular knife of various lengths, single-edge blade tapering hilt to point
dahl = shield, round engraved metal, or heavy leather w' metal bosss and studs
jezail = long matchlock rifle

I have some interesting choices with the Pathans I've primed. I did prime them half tan and half white, and I think they have the right look.  The white will be the common off-white, and the tan will be Kurram Valley, perhaps - they sound unusual!


On another topic... 
Paintbrushes!

Tabletop Minions Atom Smasher commentary
https://www.youtube.com/watch?v=5vfJdCimmKA
  • brand not important - $6 for 5 brushes fine
  • large synthetic brushes for big areas, small natural brushes for detail work
  • clean with hair conditioner, leave in it overnight
  • hair tie around water cup holds brushes overnight
  • use the back end of the brush to get out the paint, not the bristles
  • keep paint away from the farrel - only halfway down the bristles
  • metallic paints wear bristles faster
  • use different paints for metallic so the sparkles don't appear elsewhere
  • Windsor Newton, Manila Road
  • Vallejo Brush Cleaner
Overall, I found this to be a useful vid on a perennial topic!

On to the painting mines!

Thursday, April 29, 2021

Jumonville Glen in 54mm


"Toupees made to order -  Satisfaction Guaranteed!"
The battle of Jumonville Glen, now a park in SW Pennsylvania, is a classic ambush. The real battle appears to have been pretty lop-sided considering the result and casualties, which was the French force taking almost all the casualties and surrendering.  As a military OP, it was very successful, and a first success for a young officer named George Washington, who would go on to be better known in later years.

There's a bunch of articles on it, due to George Washington's involvement, but beware - some only adhere to the present academic and journalistic standard of our time, which is halfway between gossip and rumor, and Fake News, sprinkled with some facts.  Fortunately, the Wikipedia article surmounts that standard and addresses the particulars pretty well [CLICK]. There is also a good post here - Jumonville Glen Battlefield Post - that has additional information.  Enough said!

As a wargame post, the main concern here is how to game an encounter where one side had total victory.  They key is to recognize that altho that was the historical result it was not a sure thing.  The French could have had better and / or more sentries out, could have scouted better, or taken routine precautions to avoid the disaster that happened.  Presenting the full array of possibilities to both sides and allowing the Wargamer to make his own decisions is the best game plan.

Ergo, we set up the battle per the below diagram, which seemed accurate enough:

From here [CLICK].

Table was about 5 x 10 with the hills camp nestled in the valley between the steep hills and open forest.  The scale was 54mm plastics from Armies in Plastic [CLICK] and the hills were purchased while the trees were a mix of railroad and aquarium pieces, some in 54mm large and others were smaller. The smaller trees were provided by the host and denote scrub and bushes, which count as Area Terrain denoted by the circular dark green felt bits on which they stood - the trees themselves only served as a marker. Robb K provided lovely painted figs and the terrain including tents.  Results are below, with a view from the "North" of the above diagram:
Above, the French defend their camp from a motley collection of frontiersmen sniping from the woods and rocks.

The French set up in the general area of the camp, but had some choices to "weight" the area where they placed them. They also had options to put out sentries who would automatically fire when the enemy became visible. The trade-off was that there was a good chance that the sentries would be overwhelmed and killed, so that had to be taken into account.

The colonist under GW and their Indian Allies under Tanacharison "The Half King" - a ferocious character, it seems [click] - chose to mainly approach from the diagram "Northwest" and "Northeast" corners, using the Indians under Terrible T to close the bag from diagram "South".  This put them in close mutual support, which is a good idea considering that they only outnumber the French by about 52 to 35, and splitting up for an encirclement invites being defeated in detail.  The main problem was that if the entire French force ran against the Indians, they would heavily outnumber them and the Indians were not closely supported.

RULES
The rules used were a modified version of Neil Thomas' Skirmish Rules from "Wargaming: An Introduction". These provide simple, effective mechanics as a basic platform for any gunpowder era conflict.  I have also used them for medieval fantasy encounters including Chaos v. Empire and the Lord of the Rings [HERE]. 

I find them pretty smooth but I still streamlined them a bit and wrote up a new set based upon the RAW that decreased the weapons to FIW only, and I eliminated the wounding mechanic - if you hit and target failed to save they took a wound, period.  They took two wounds if their save was a natural '1'. I do like their mechanics for cover and saves also, which make it easy for players to decide on how they are deploying their figures in relation to desired cover - the best way to stay alive!

Another key change was that each side made an Initiative roll, with the winner able to go first. However, as this is a skirmish game, command and control has a lot of friction in real life at this level.  I took this into account by using some interesting dice from another game, that have 0, 1, 2, 3, 4 & 5 on the 6-sided cube. 

Each player on the side taking a player "impulse" rolled the die and that was the number of figures they could activate.  On a "0", only a leader could activate [each player only had 1-2 so careful decisions had to be made!] but they could also activate some figures with them using a "Lead" action. The net result is an IGO-UGO turn sequence that varies the number of figs you can activate in any given impulse.  If you roll low and have a bunch of unactivated figs left after your opponent is finished, you can just activate them all.  The tactical tension is that it is usually better to shoot first, and move second!  Ah, decisions...decisions...

As for the battle, after a quick explanation of the rules, the players were off and running!

Diagram East, groups of British colonists pressure the French, who are very thin on the ground. At top center in red, i s a group of about 8 led by GW who have just assaulted a small group of French regulars.

Below, a closeup of GW's successful assault on a couple of Frenchies holding a key wood position on the edge of the camp. At top right is the main part of the French force.

Below, the French are fighting for their camp, which provides some concealment from enemy fire but the tents are not bulletproof. The Indian commander sits at the far end of the table, and a few of his Indians may be seens near him.

Below, another view from the colonist militia positions. GW to top left, French above them. Using Concealment and Cover properly was the key to success.

Way off on diagram South, Terrible T's Indians whooped it up and frightened the Frogs into believing there were many more Redskins about - the occasional shot kept the sentries under pressure for a while, but as an escape route, it was pretty open.

View from Diagram Southeast.  Terrible T has concentrated some of his men who are now enough of a threat to have Jumonville send three more precious regulars to hold them off. They are dreading a close action provoked by the Indians - they have such lovely, long hair!

But eventually Terrible T saw his moment. He managed, with a bit of difficulty, to finally get an overwhelming group of seven Braves to nearly encircle the three Frenchmen. The defensive fire has no effect - jitters?
Two of the French succumb quickly, but the third is much more determined!  He holds off the Indians, including a Green Goblin warrior!

Meanwhile, back at the camp, the French have concentrated a large force of about 14 Soldiers to try and gain local superiority. The bodies of ambushed French lay near the colonist militia who are crowded into a small wood.
But, the force directly led by GW has successfully assaulted and is now into the East side of the camp, slowly confining the French at the top. Indians are visible at the top left of the pic.
Amazingly, the lone Frenchman - clearly a desperate and wily fighter, breaks free from the crowd of Indians and makes a run for it!  However, the Indians were prepared for a runner, and their overwatch element snipes and pins him.

Back at the camp, the French advance and assault the militia hiding in the small woods. The attack doesn't go well, partially because of strong defensive Fire which pins some of the French. They make contact with about 10 French against 6 militia.

In the end, it was not enough to break free. However, the French did better than their real-life counterparts.  If anything, the missed opportunity may have been to take the entire force against the Indians and try to break out in that direction. This would have provoked a running battle but may have resulted in more French escaping the noose. Hard to say, and worth another go!

The rules worked well, with very few questions and only a couple of changes needed for future games. They are a painless set of traditional mechanics that are easy to pick up for any experienced gamer, resulting in the players being able to focus on the battle instead of the rules. Careful playtesting and use of the terrain as visual cues for terrain mechanics also made it run smoothly. As these are not in the rules, I made them up myself and was glad to see them work well.

I can strongly recommend these skirmish rules as a great platform to modify for your own tastes and purposes as all the mechanics are obvious an intuitive. They are not always dynamic as written, but it's easy to make them a bit more exciting with simple changes.

Friday, September 4, 2020

Malakand Field Force prep 6d: Painting Brits

I am pleased with how these are looking. As I finish up the final painting of objects, the next step will be lots of cutting in on the straps and other spots where the paint slopped over. This step will take a bit longer than others, but as it is exciting to see how the fig is turning out, it tends to go fast.

This fellow ended with a Snidely Whiplash sort of 'stache.

The officer needs a few touches here and there, shiny buckles and such.

Very pleased with the Lee-Metford rifles - they highlight easily. The brass studs on the bayonet handle also popped right up.

 Close up showing the brass butt plate on the rifle.
 More straps and buckle work, that's what this pic says to me!

Over white primer, both flesh tones look good. The grey is an intermediate stage for the dark blue of the winter Home Service trousers. They'll also get the red stripe.

As for the wet palette, it definitely keeps paint for several days. I think I put too much water in it at first. You can blot excessive water out by picking up the parchment paper and blotting the paper towel under it. Easier to add water than to remove it, however!
The black and tan [right] have been there a  few days. The brass and dark brown in the middle were also still damp [hadn't dried out] but I added color to change the tone.

A few thoughts:
- overall, these are pretty quick since the size makes it easier to paint accurately. However, one has to avoid the desire to add too much unnecessary details that aren't visible from more than a couple feet away.
- most of the objects have enough depth that you have to paint the sides [straps, water bottle, etc]. This requires cutting in later.
- definitely possible to paint these to a high standard, like good 28mm figs. The choice is yours. If you're just painting up a few dozen for skirmishes, then you're looking at a $30 project or so, that still fits on a modest dining table.
- don't prime excessively, and I am not seeing much benefit to the water/PVA glue mix thus far.

Looking forward to wrapping these up in a couple of days.

Friday, August 28, 2020

Malakand Field Force prep 6c: Painting Brits

Well, if this is your period, I hope you like to paint...STRAPS!
Above, I needed the originals on hand to see how the sculpting was done as my priming process was a bit too thick.

Painting Mojo has returned...was a bit rough getting started, but I'm now about halfway done with this batch of 10. They look a bit rough now, and it was very tempting to go the route of John Y as he paints the same figs at 54mm or Fight! [CLICK], painting up small batches of 3-4 figs to completion. But, I really want to get them all done, and it is helpful to keep in mind how a strap falls, or how a canteen is covered, etc, figure by figure, to stay focused.

Probably the toughest part for me is that I really do like to paint in lots of little details, and with this project I need to relax, let the little toy Soldiers be Little Toy Soldiers, and just do a clean, solid job that looks great at 3 feet [that's a meter for you French revolutionary types].

Below, you can see pretty well the scheme in progress. Black boots, dark olive puttees, dark brown equipment, white haversack...
 ...and below, light grey gunsling, ochre canteen cover, light olive canteen strap. I think that with modern uniforms that have a host of neutral tones one needs to accent any difference possible lest the sculpt be washed out in a palette of "all the same". Also, gear weathers differently, anyway.

Bit closer on the back. You can see how the straps are layered upon each other and then run under the waistbelt.

I think the painting light washes out some of the subtleties that are more apparent live.

Another closer shot. I think that the figs will really look good when the final details are upon them. That's part of the "small batch" inspiration - seeing how good a few figs will look.
 But hey, it's only ten figures! I'll Soldier on through it.

Nice close-up. Am seriously considering a miracle dip for these fellows, but perhaps a bit thin and not very dark.

Some of the detail has been lost or muted due to the excessively thick priming process I used. I will have to modify that post and show the results.

Below, you can see that the Pathan with a thinner vinyl paint cover has better details. Still, it was inevitable that the first batch of figs wouldn't be just right, no matter how much research I put into it. This is a very "crafty" hobby after all.

Well, I hope it is fun to see this moving along after all this time. My present goal is to finish the 20 Pathans and 10 Brits and get some games in before I depart for a warfighter in SEP. Then I can fine-tune my rules a bit based upon the results. Meanwhile, I'll be running around with the Army for the weekend, so probably no painting until next week.

Tune in then!

Saturday, August 22, 2020

Malakand Field Force prep 6b: Painting Brits

Two Good Sources

Well, I have feelers out for more information from various websites [whether I'm a member or not], but using these two above sources primarily, this is what I've gathered. I will update if there is additional info provided by visitors direct by email.

Below is a combination of both specific and general notes on uniforms for 1897 to facilitate the miniatures painter.

India: Greater uniformity due to early introduction of khaki.
* Exceptions to all-khaki outfits are kilts, hose and spats of Highland Scot regiments and the tartan trews of Lowland Scot regiments. Scottish BN khaki frocks had cutaway skirts like their scarlet frocks ["cutaway" means that the front doesn't overlap much, and is rounded off, unlike the right angles and overlapping of the usual coat]. 
* Sewing of cartridge loops above the breast pockets fairly common - 10 easily accessible rounds. 
* Shoulder chains worn by British cavalry, copied from Indian Cavalry - silver on white cloth, atop both shoulders.
* "Undress" uniform worn in field - "dress" is for parade, e.g. the modern "dress mess" formal jackets.

Helmets: white [!?], with khaki covers. May have distinguishing insignia, such as a scarlet fold in the puggaree [cloth helmet cover] of the 2BN Northumberland Fus, or the bronze badge of the 1BN Buffs, or a red color swatch [square] with white letters/numbers. Enlisted helmets could vary in shape between battalions, but officer's purchased helmets were usually the same shape. Chinstrap was brown and worn up or down, brass button.

Drill frock [jacket]: Khaki, brass buttons, khaki cuff with a point [up] like a chevron - can draw in dark brown pen.

Equipment: By 1897 rising, 1888 Slade-Wallace equipment in buff for most British BN.  The Sam Browne belt of officers, [Oxfordshire Lt. Infantry] was also brown leather, in which case the braces and canteen strap match, but the haversack was still off-white. Northamptonshires stained their equipment khaki. 
*1894 pouches could be grey, off-white or white.
Haversack: always off-white.
India pattern canteen: khaki, brown strap, metal stopper with white string.
Mess tin: dulled metal, could have black cover.

Guns: usual medium brown varnish with metal "blueing". 
Gunsling is off-white, white or grey [dirt, bleaching].
Sword: newer had steel guard, older a brass one.
Bayonet: black scabbard with brass fittings, steel bayonet with brown [wood?] grip.

Trousers: khaki, or blue dungarees. But in winter could be dark blue serge with the infantry red stripe of home service, Also cord breeches [reinforced on inner thighs] and canvas gaiters for mounted infantry.
Puttees: darker khaki, blue for mounted or Royal Artillery, could be "quite pale" with a contrasting tie atop.
Shoes: black or brown, usually black. Sole may have some shiny silver nail heads showing, scraped against the terrain, i.e. "hobnail boots".

Rank: Captains two brass stars or "pips", Lieutenants one pip, 2nd Lieutenants none.
Rank Chevrons [points down, upper right sleeve only!] Sergeants have gold chevrons on red [removed from scarlet jackets?] while corporals had white. KOSB and Gordons followed earlier practice of wearing red chevrons on khaki or white. 
Good Conduct Chevrons could match, red on khaki, point up on left sleeve above cuff.
Badges such as Signaller would be worn above Good Conduct Chevron.
Rifle BDE at Tochi: dressed as English infantry but with black accoutrements and puttees.

Unit Selection
1BN, Northamptonshire Regt. heavily engaged.


Wednesday, November 20, 2019

Malakand Field Force prep p.6a: Painting Pathans and Brits

EDIT:
Rats, I'm so distracted sometimes, I forgot I meant to post WHY I got motivated to work on these guys. Was at a bible study and we were in Genesis and one of the participants noted that altho God created all the animals, fish, birds etc by speaking, man He sculpted from dust, and woman he sculpted from Adam's rib. This reminded me of my neglected little men, the little sculpts, and I decided I had to make some progress on them. So here we are, with the 54mm plastics back on the work bench. It's time they got some attention, even if it is not the hands of God himself. So...

Here it all 'tis, sitting under a bright IKEA table lamp which seems to wash out the daylight in the room and deepen the shadows. The water and glue are mixed in two ratios - "a bit goopy" and "thinner than that" [I hope you can follow the technical terminology at this dizzying height of the craft]. I will use the thicker mix for particularly rough or raised parts of the model, and the thinner for slighter ones, especially if I want to preserve details like on a face.


Below is a touch-up mix for a second coat - I put a few drops of Elmers and water on the tray. It was a bit thin so more drops of glue went in. You can spread the mix on the tray with a brush and add glue / water to opposite ends which is easy to track and work with quickly as you apply it.


The mix can be dabbed on thick [below] to hide areas where a mold line or rough spot is pronounced...

...it can be brushed on thick, especially over areas like swords that need extra strength [you can see where the Duplo I used for primer flaked off - but the glue mix seems to have smoothed it all out, so "successful intervention"]


Below, a few highlights of rough spots that I put glue onto attempting to smooth them out a bit. These shooters are particularly messy with mold lines.


These leader types have obvious spots that were trimmed post-priming. Hoping the glue process smooths them so they are not noticeable later, particularly during dipping.


Pooling - hard to prevent unless you lay the figures down at funny angles, but it is obvious and annoying. It will NOT look right on the fig! So you will have to work to prevent it.


Still do to:
- paint Brits and French exchange officer.
paint the pathans.
End state - 20 pathan foot, 10 British foot and 2 mounted, 1 French foot.

A few thoughts for OHSW:
Pathan swordsmen - brawlers?
Pathan snipers
Pathans - muskets mostly
low force morale [looking for easy pickings]
British - rifles, high force morale

Looking forward to this in the near future...

Wednesday, July 10, 2019

Malakand Field Force Prep, p.5: More Colors, sticks, painting

As I have slooooowly made progress with this project, part has been working on colors. Painting anything this large requires a bit of thought, as the colors can be a bit darker as the figures are so big they'll appear a bit more true to life. Also, I have to remember to not take these little toy soldier types too seriously, as even neatly painted they'll still have that old-school feel and "realism" will be taking something of a back seat, anyway.

Below, the base coat for the British Khaki: Vallejo Dark Sand.


Roan for a horse? What do they say about red-headed girls...?

First camel - don't let his nose under your tent...

French officer, attached to Brits as a professional courtesy - but whose side is he on?

Serious preparations - first, I had to re-glue all the figures on the sticks. One may argue I don't need the sticks at all, but the individual plastic figs are very light and tend to fall over, which could lead to some flaking and such. So more for weight than difficulty handling.

Super Tacky Glue is dirt cheap and dries with a lot of flexibility. Elmers dries brittle and is very useful for temporary gluing that will be followed by removal - figs will pop right off a stick or base. However, it really doesn't want to stick to the bottom of these guys! So I removed them all very easily and reattached them with the Super Tacky.


So this is where the painting project is currently standing - must continue learning techniques for cleaning off or otherwise mitigating mold lines. Overall, I think these limey's are ready for a lot more paint!

Tuesday, May 28, 2019

Soft Plastic Painting Techniques

I got my eyes on you, mold line residue!

still, it does make the beard look a bit curlier... and the ear.

Returning to techniques for painting these softer plastics, we'll be looking at some collected off TMP and such. Have to admit, I overall prefer the familiarity of working with metal and hard plastic to learning how to deal with this - sometimes frustrating - soft plastic. Still, have been inspired by various posts around the internet, including "54mm or Fight" blog, and the Gentleman's War Facebook page, plus the appeal of these figures in general - they have a nice balance of skirmish-y toy Soldier feel, action poses, and historical gear.


At top of comments below is the process I want to give a go - below it is the various commentators and sources so that you can use this as you own resource.


Amalgamated Process to try:

  1. Gentle-scrape mold lines with X-Xacto, cut obtrusive plastics, etc
  2. Rub or scrape with fingernail flaky little bits of plastic
  3. Soak in straight vineger, warm water rinse, air dry
  4. Dupli-Color vinyl [grey, black, tan?]
  5. PVC glue / water mix against areas of visible mold lines, etc to soften contrast.
  6. [Black wash - if strong shadowing desired]
  7. Block paint [highlights if using step 6]
  8. Plasti-dip or clear minwax / etc
Tim Waudby Yes AIP, cheap and cheerful. I found these tricky to paint as the castings are a bit off in places. Never bother trimming mold lines on AIP as they're so slight. These were washed in detergent, left to dry fully, sprayed with GW white undercoat and painted with vallejo acrylics then glossed with humbrol gloss varnish. Two tips:

1. Leave paint to cure for a few days before varnish. This will stop any dulling and provide a good base for the varnish. 

2. Work the varnish in like a shampoo, humbrol will lather slightly. This helps is set nice and strong and shinny!


From TMP here [click]

Dervel:
My process learned from a master of painting flexible plastic figures is:
1. Wash with soapy water.
2. Spray with flexible plastic like Dupli-Color vinyl and fabric spray (from Autozone).
3. Paint with my usual water based acrylics.
4. Spray with Plasti-dip clear.
5. Testors Dullcote to reduce the shine.


Nevinsrip:
People that work in 1/72 tend to use PVA as a base coat. Not so much in 54 mm
Try soaking your figures in straight vinegar before priming. The vinegar will remove mold release residue better than soap and water. Rinse under warm water and let air dry.

A Cough2001:
Having painted more plastic figures than I care to remember, I have come up with a procedure that works well and is durable.
First they need to be clean. Soapy water works but I've also had success with windshield washer fluid (the cheap blue stuff sold just about everywhere) for soaking then going over with an old battery-powered electric toothbrush.
I then prime them with Model Master Grey Primer. After letting it dry overnight, I then apply a thin wash of Tamiya Flat Black, again allowing them to dry overnight. I use a combination of Vallejo and Foundry acrylics for painting.
They are then given a coat of Liquitex Hi-Gloss Varnish. So far I've had great success. You can see the results on my blog, Der Resin Kavalier. Go to https://derresinkavalier.blogspot.com

SGT SLAG:
I painted a few hundred 54mm Army Men figures, only applying acrylic hobby paint to the bits that differed in color from what the plastic was: flesh, weapons, etc. I then painted Minwax Polyshades Urethane Stain on them, Royal Walnut color (the original The Dip technique).
They lasted 4+ years, but eventually, the paint started flaking off. The Minwax will work, for a while. If I had treated them like I do my painted metal miniatures, they might have lasted twice as long.
In my opinion, I doubt anything will last more than 10 years, on soft plastic figures, but I hope someone can prove me wrong. Experimentation is king, Baby! Cheers!

The flags are from Adolph Ramos (highly recommended!).


Duplicolor Vinyl and Fabric Coating, 11 oz. Aerosol Part . Advance Auto Parts:


Desert Sand - #HVP108, 

Flat Black #HVP106, 

Medium Gray, #HVP109,

Charcoal Gray, #HVP111


I'm uncertain what advantage there is to certain undercoats, except that a spray coat is a must for me due to saving time and better overall coverage. It does occasionally miss a nook or cranny and need some thinned brush paint / primer to finish the coverage.


Well, there you have it - I will keep updating this and welcome suggestions as I move forward with my 54mm AIP plastics.