Wednesday, November 23, 2022

Ogre / GEV: Tweaking Disabled Mechanic

"Have a Hivelock and a Nice Day!"
copyright, Steve Jackson Games
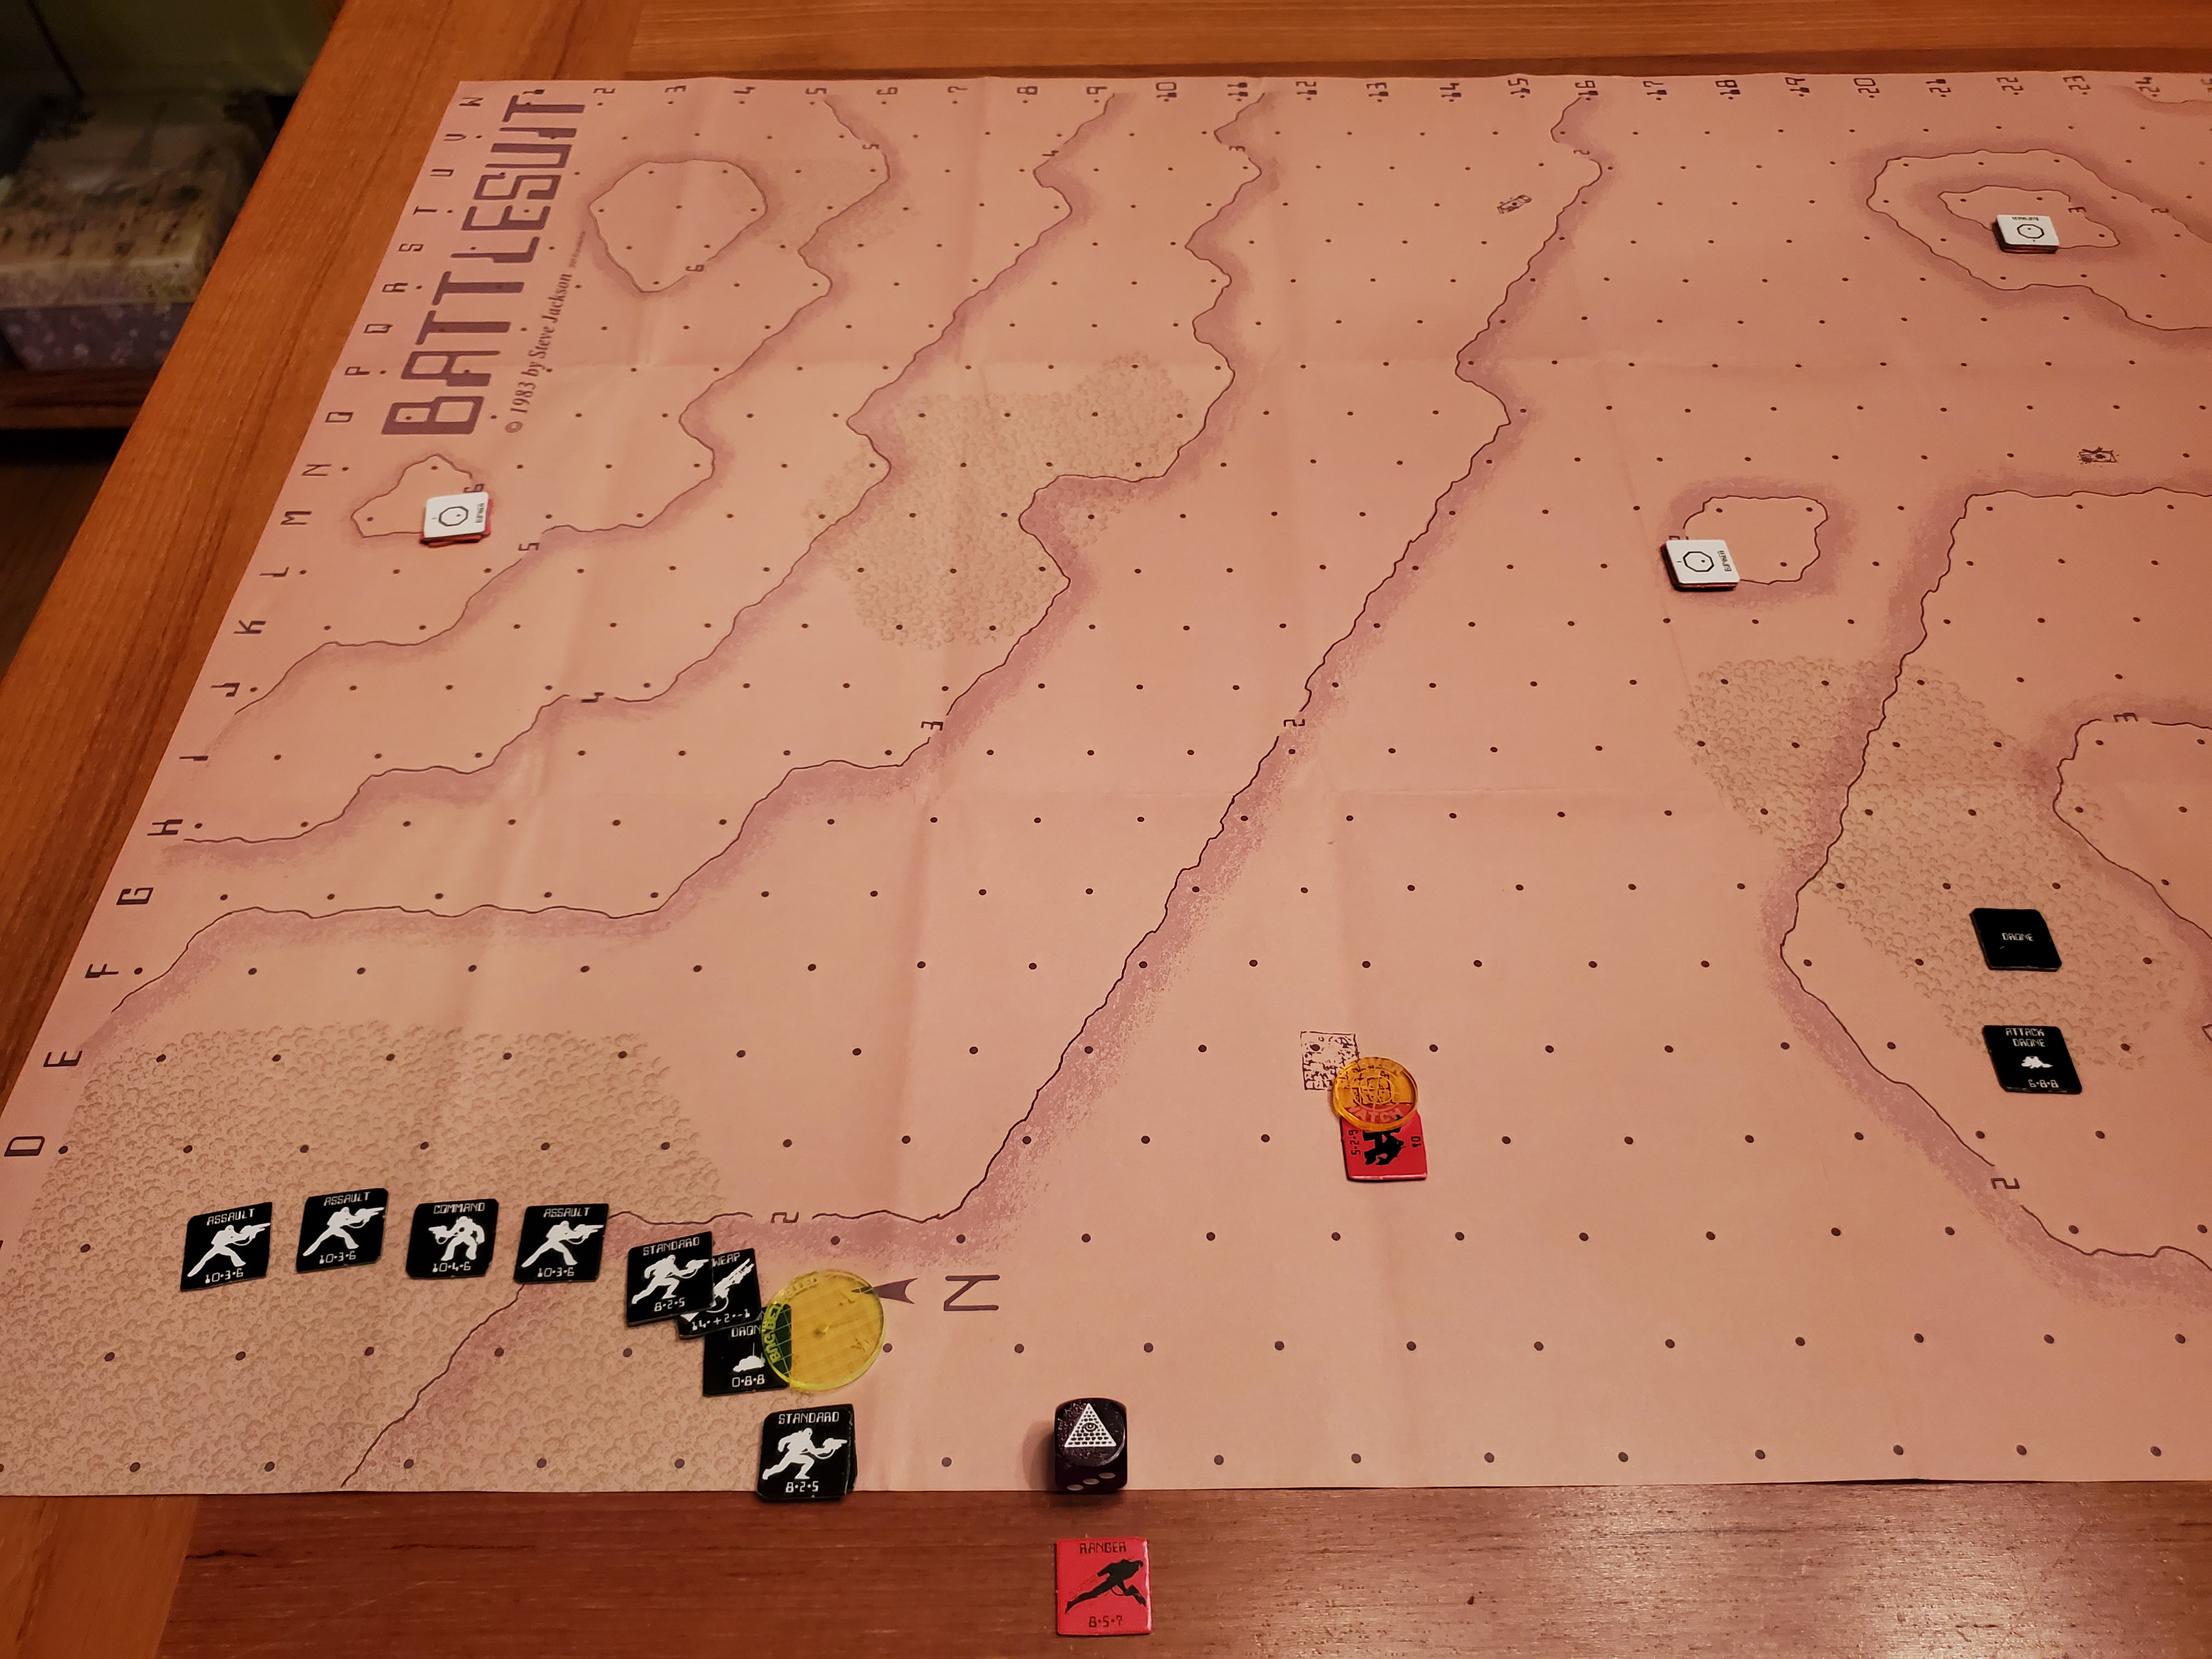
Nope, that's not a Disabled result, and it won't be recovering in this game...

The latest GEV rules are from 2018 and the Battle Box. They are by far the best compendium of the latest rules, to my knowledge. However, with all due respect to Steve Jackson, they still suffer from some over-engineering that reminds me of the 1970s and 1980s fixation with granular mechanics that are beneath the notice of a commander. Sometimes that can be kinda fun, like with the Missile rules. Othertimes, it bogs the entire game down somewhat, and that's the case with the Disabled rules.

The Disabled rules as they stand demand that you remember the cause of being disabled. If it was by Fire or Ramming [!] they recover automatically after losing a player turn. If by entering difficult terrain, they recover 2/3 of the time [so may never recover, theoretically, or may recover next player turn with no loss of actions].  This can be awkward in a larger game and the counters aren't number so you could only scribe this by noting the hex, unit type, and cause of Disabled.  All of which is not in the spirit of a fast-play game, and definitely not in the spirit of contemporary gaming which trends towards simplicity of mechanics with an emphasis on player decisions.

The math for 8 Disabled Units is like this, if one rolls average:
- if by Terrain on Player Turn 1 [PT1], of 6 Disabled Units 4 Recover on PT2. One more recovers PT3, and the final one on PT4 or 5.
- if by Fire on PT1, 0 Units Recover PT2, and 6 on PT3, or 100% automatically.

Ergo, I offer this mechanic as an alternative that is in keeping with the simplicity of the rules and is - arguably - more realistic.

"In Phase 1 Recovery, roll a d6 for every Disabled Unit regardless of cause - they recover on a 4+"

The math behind this results in the following for 8 Units Disabled PT1:
- on PT2, 4 Units Recover. On PT3, 2 more Recover [so 6/8 total]. On PT4, 1 more Recovers so a net 7/8. The final Unit has a continuous 50% chance to Recover.  
It will probably not Recover, and it will almost certainly be a Howitzer...!

Using this results in more Units returning the next Player Turn, on average.  However, it also introduces the possibility that some units will not recover for a few Player Turns on average, and of course the lesser probabilities that almost all will recover next PT or almost all will not recover soon enough to be of any use in the specific scenario you're playing.

[EDIT] Switching the Recovery Phase is a very good idea from James Doty at the Ogre Fb page [now why didn't I think of this??]. If one is invested in the concept that there must be a penalty to the ability of a Disabled Unit to function, then if you switch the Turn Sequence and put Recovery at the end, after GEV second Movement Phase then any Disabled Unit definitely loses a Turn.

OTOH, the intention of the original rule is clearly that the opponent gets a second shot at a Disabled Unit on his next player turn, as in:
- My PT I disable you.
- Your PT you are stuck, Disabled.
- My PT I have a shot at you while you're Disabled.
- Your PT you auto-Recover.
Which makes Disabled an additional hazard, but presents the opponent with an interesting choice of finishing off Disabled Units or trying to Destroy / Disable functional Units.

Note that this does allow a possibility at a quick recovery for a vehicle that just became Disabled by moving into rough terrain. However, as the vic lost the rest of its movement by being bogged down, I think it is fine - I never move a GEV through such terrain anyway, so the deterrence is still there.

If one switches Recovery to the end of the Player Turn, and uses a 4+ Recovery roll, then I think you are closest to the original intent of the rules while still adding some uncertainty and a bit more realism into the mix at reduced memory pain. A 3+ or 5+ recovery roll are also possibilities, depending on the scenario.

Above, Combine armored attack on the right flank resulted in 5 Disabled Units from Paneuro Fire. As it stood, all lost one PT and Recovered the next one. With this variant, 2-3 would Recover next PT, 1-2 the following and likely the last one after that.  OR, worst case scenario, none recover fast enough to impact the game!  Best case is that they all Recover next turn!  

Overall, this is both much more manageable - no need to take notes or use markers - and much more realistic - if an armored Unit is damaged by fire or bogged down, all a commander needs to know is when it becomes operational again. Meanwhile, all Disabled Units continue to defend themselves in an Overrun situation.

An interesting variant on this would be to use a better Recovery number for a side that has superior tools, training and hardware/software, a 3+. 

A side that has a poor supply situation and/or is falling behind technologically might recover on a 5+.

All of which can feed into any number of scenario objectives. For example, if Command Post Gamma is the S4 Supply & Maintenance CP, then if it is taken out perhaps the recovery number of all units goes from 4+ to 5+. 

Alternately, if Mobile Command Post Beta is the Maintenance CP, then when it enters the board as a reinforcement, it grants a 3+ Recovery number, but if destroyed it declines to a 5+.

All of this adds up to more scenario-driven fun that can shape your Ogre / GEV scenarios, so enjoy and LMK how it works for you, and your bright ideas!


Sunday, November 20, 2022

Ogre & Modern Combat: Thoughts RE: Turn Sequence, p2

HE'S DOING HIS PART - ARE YOU?

Combine Recruiting Poster, circa 2085 
 © Steve Jackson Games, all rights reserved, etc.

Well, the proof is in the pudding. Why exactly proof should be put into pudding I am uncertain, but hopefully it tastes like raisins... So, what does it look like to fight it out straight up in GEV with equal forces, more or less?  And given the way the turn sequence rewards Alpha Strike, what does it look like to coordinate an effective attack and defense? The post hopes to raise questions and give at least the opportunity for some answers.

Below, a 14 -14 face off for Paneuropean [white] v. Combine [black]. Yes there is terrain, but it should not be very impactful except to help the Paneuro Infantry a bit. The crater line marks the Threat Zone of ALL Paneuro and Combine units. Threat Zone = the total of Movement and Range for a unit in GEV. These are:
Howitzer = 0+8=8 hexes
Mobile Howitzer = 1+6=7 hexes
Missile Tank, GEV = 4+2 or 2+4=6 hexes
Lt. & Hvy. Tanks = 3+2=5 hexes
Infantry = 2+1=3 hexes
And the Paneuro is set up so that his entire force can hit that crater line, should any Combine attacker be dumb enough to cross it!  Ergo, the Combine attacker will not casually cross it...Combine is also set up identically - the entire force can hit the crater line. However, Paneuro has been given orders to defend, while Combine has orders to attack!  And at 1:1 odds no less!  In military maxims, one needs a 3:1 advantage for a successful attack, minimum of 2:1. Does Ogre fit into the military mold mindset?  Let's see...


ATTACKING A FLAT DEFENSE

Combine Turn 1. To begin, the Combine will attempt to peel away the outer layer of this onion - the Infantry. To do it, the Missile Tanks and Mobile Howitzer are staged within Alpha-striking distance of the Paneuro Infantry...
...and they advance into Alpha-strike Range, and destroy one Company of Infantry, while reducing the other two a platoon each, or 1/1, so they are now 2/1.

Paneuro 1. Paneuro has no immediate response except to advance, as no Combine Units moved into "the crater zone".

Combine 2. The same ranged strike force hits the advancing Paneuro who are basically still staging their counter-alpha-strike. They lose their Hvy Tank, and a GEV Disabled.

Paneuro 2. They reach out and touch someone with their counter-alpha-strike! The GEV slips through a gap in the Combine advance to take on the most lethal element they have - the MHwz - while all the rest of the force Moves into Fire Range....
...in a decent set of rolls, Paneuro destroys the MHwz, and Disables both Msl Tanks!
...then their long-ranged MHwz and Msl Tanks trash the Combine Infantry, destroying two companies and a platoon from the top company, which is now a 2/1.
...and then the GEVs fade back behind their forces.
Score: Paneuro winning, having lost 2 2/3 Units, while Combine has lose 4 1/3 Units. So far, looks like the flat defense did ok, surprisingly.

Combine 3. The hammer falls: the entire Combine force is able to take on most of the remaining Paneuro force as it alpha-strikes with 7 Units.
...with some decent rolling, the Howitzer destroys a Lt. Tank, the Heavy Tanks destroy 2 Infantry platoons and a Lt. Tank, the GEV's destroy a GEV and a Disabled GEV...
...and much of the Paneuro counter-strike is destroyed. They've four effective Units left against 11 Combine [two are disabled Msl Tanks, however].
Losses are almost 2:1 against the Paneuro force.

Paneuro 3. The P's are not done yet, and destroy 2 platoons of Infantry, a Hvy Tank and a Disabled Missile Tank. An optimist might be encouraged...

But on Combine 4, the Paneuros lose two vics destroyed and two disabled. 
They have one platoon of Infantry and one Howitzer operational!

On Paneuro 4, the Infantry miss, but the Howitzer destroyed a Msl Tank.

On Combine 5, all three Paneuro maneuver Units are destroyed.

On Paneuro 5, the Howitzer Disabled a Hvy Tank.
And on Combine 6, the Howitzer is destroyed in a blaze of 2-1 attacks!
The final tally - Paneuro wiped out, Combine has 6 Unit equivalents left.

ANALYSIS
So, the "Flat Defense" isn't going to work against a fast-moving opponent or one that outranges you [the case above]. It is fine for a DMZ during a cease-fire, as all Threat Ranges [TR] end at the agreed line [the craters]. 

The Paneuro counter-alpha-strike was too far back. They advanced but were themselves alpha-striked before doing any damage.  That gap was where the Paneuros lost the fight.

A better positioning would have been for the Paneuros to have their TR7 MHwz, and TR6 Units - GEV and Msl Tanks - farther forward, and the TR5 Lt. & Hvy Tanks as the counter-Alpha-Striking force. Infantry would have been better positioned entirely in the Woods as base of support for the TR6 Units and being harder to damage thanks to doubled defense.

A much better defense would be a Defense in Depth that pushes forward some of the long TR8, TR7 and TR6 Units, which extend the Threat Distance well forward of the defending Units, and enable them to threaten an advancing MHwz. To protect them from Overruns, Infantry should be spread out with some GEVs to run interference. The Lt & Hvy Tanks should be used to assault fixed positions, especially as a Howitzer can only destroy one a turn and they outrange infantry.

More to come with a Defense in Depth!

Tuesday, November 15, 2022

"Battlesuit" by Steve Jackson: w' Tweaks

Who Is Supporting Whom?
© Steve Jackson Games

Took longer to get to this replay than I wanted, but that gave me time to do a couple more drafts of my QRS and fine-tune a few decisions about what I was looking for in this playtest.  The BLUF is that I wanted to stay as faithful to the fluff and key mechanics as possible, while giving more room for maneuver in the same battlespace - the original game board.  Ergo, changes are:
- Scale changed to 20 sec turn, 50m hex [point], 1Movement Point=9kph
      [originally 10sec, 37.5m, 1MP=16kph]. No change to elevation levels @2m each.
- The range bands of Fire penalties went from every 10 to every 5 hexes.
- The Combat Results Table [CRT] was made slightly less lethal, about the equivalent of a "-1" to Firing on the 2d6 to resolve.
- Bomb Drones were made a bit more powerful against hard cover and Units. They only hit about as hard as a Holy Hand Grenade and and they are supposed to be mini-nukes!
- The Heavy Weapon rules were fine-tuned a bit. One critical issue is that in the Rules As Written [RAW] you can only operate a HW with an undamaged suit. This makes their use a bit fragile and also to tactics where the HW is surrounded by suits to replace any damaged wielder.  I made it so that a 'suit could take a full hit of damage but still Fire, and after that could not.
- I admit to streamlining the Jumping/flying rules a bit... at least I think I did. I may just have clarified the original intent which was a bit hazy on the edges.

The net effect is that one can fight _across_ the battlespace with some maneuver room, instead of being obligated to fight up/down the length over the same valley and be cramped for maneuvering end-to-end. It has a secondary effect of needing units to be a bit closer together for mutual support, but there's still plenty of ways to range the board, with the right tactic and weapon. It's just not quite as lethal.

The scenario I made up was an aggressive patrol to clear out some bunkers along the main Line of Resistance. Red Paneuropean force has been detailed to secure the valley to deny enemy movements - three bunkers are the key.  

The interestingly pink/mauve board is below, and the center Bunker 2 [white counter] is on a small level 2 hill in the valley which runs NE / SW. The supporting bunker 3 to NE is not only on a higher level 3 hill but overlooks the valley running SE from it. To the far left is bunker 1 on a level 6 hill. Out in front a Ranger 'suit is maintaining a listening post in a ruined building [hard cover]. 

I randomly placed two counters in each bunker - 5 Standard 'suits and one HW. Also, one of the bunkers [secretly] is the area Command Post, and the CP functions like a Command Suit until destroyed, allowing a re-roll of one Morale Check per Turn.

Closeup of board left:
Closeup of board right:

Encroaching into the Battlespace is the Combine patrol - three Assault and one Command 'suit, and two Standard 'suits each with a HW. Also, one of each drone type - Recon, Attack and Bomb [OK...basically, I just wanted to try them all out!].

So, the 'suits are even in number, but black has a small edge in quality, one additional HW and the three drones.

Observing the battlespace, I decided that the best plan was to keep my force concentrated, advancing from the only board edge with cover [reducing vulnerability to Indirect Fire - IF] and take out each position sequentially with overwhelming firepower.  Sounds good!

Below, Combine Turn 1 starts as a Recon Drone enters that Targets the Ranger suit in the ruined building. Ranger doesn't have an effective shot against it due to its strong ECM value.  Next, a Standard 'suit with a Heavy Weapon enters, survives Reaction Fire [RF] from the Ranger, then takes a moving shot on him, damaging him for a level.
In Battlesuit, all 'suits can take up to four levels of Damage, D1-4. Interestingly, altho they start out with slightly different stats, they all have the same stats as they take damage and you replace them with a counter that has an image of the damaged suit. The alternative would be to have counters with -1, -2, -3, -4 I guess. A quirk of the game I enjoy.

Combine Turn 1 continues, and the rest of the force enters, fanning out to left in the woods. To right, in the center woods, the Bomb and Attack Drone's advance in cover. They have the ECM to take care of themselves as well as threaten any Paneuro suits that decide to maneuver against the Combine.

Paneuro 1. Hot roll from the Paneuro Shocks one of the HW wielding 'suits. Generally, the Combine force is protected enough by distance and Soft Cover that RF is either impossible or weak, and Fire is only hopeful with Targeting.

On Combine 2 the HW recovers a bit Shaken then rolls boxcars to wipe out the Ranger.  Touche!
The rest of the force has some hot dice and manages to Shock all the 'suits in Bunkers 1 & 2 - turns out 1 has the suit with HW.
This could easily have been "the turn" in which the Paneuro force was overwhelmed and nearly wiped out. However, there wasn't enough additional firepower to push that sort of result - instead, the Shock results have to fall under the category of "good fortune" and anyway they require bad Paneuro Morale Checks to exploit.

The situation in the central woods - Drones sneak up on Shocked Paneuro defenders...caught buttering their baguettes!  With limited capability to exploit the situation, only the Drones are an option.
The Bomb Drone advances out of the wood and along the edge...Paneuro has no means to interdict its advance...
...closer it creeps...out of the Line of Sight of the supporting bunker due to the woods and the 2 level hill, it can't be stopped by Reaction Fire.
...But fortune does favor the Paneuros in one respect - it's movement doesn't allow it to plant itself atop the bunker and instantly destroy everything!  Instead, it gets close and must Detonate there...
with my tweaks, the Bunker is destroyed on a '2', but both 'suits survive on 5s!  Unbelievable!  They would have been dead on a 1-4...
The situation at the start of Paneuro Turn 2 - not very promising! 1 dead, 3 Shocked, only 2 'suits in operation, this could be the end!
But hey, let's hear it for hot dice!  They don't just fall to the Combine...the Paneuro HW man Fully Recovers on a '5' and then rolls an '11' against the Command Suit, inflicting D3 and pretty much trashing the team's Commander!
Morale rolls don't go quite as well at 'former Bunker #2' and one 'suit remains in Shock while the other Panics on a '1'!  
Should be noted that I have the Ogre Dice...unfortunately, the symbols are on the '1' spot in games where it is best to roll high!  Ergo, I switch them out and if you roll the opposing symbol they intervened and botched your attack / morale / whatever.
In the Panic Morale Phase, the D3 suit dashes for closest cover [the Bunker being destroyed] and hides in the woods.
With things looking rough at both bunkers, I ponder the desirability of Maneuering the two Standard Suits in the right-most Bunker out and towards the woods to their South. It would look like the below. However, a quick calculation reveals that between the IF of the HW and the Attack Drone maneuvering against them, they will not likely be able to have a significant impact before getting shot up badly enough that they are useless.  The Bunker is the key to their defense!

As the Combine rolls into the end of their first minute, the Paneuro force is at 50% effectiveness! One additional D3 suit is in the woods, and can Target.

Combine Turn 3. The Recon and Attack Drones light up almost all the remaining Paneuro force, and the Combine kills the Shocked Standard Suit. Paneuro is down to three 'suits capable of continuing the fight. Combine losses are negligible.

Paneuro Turn 3. The Panicked 'suit in the woods fully Recovers!  Big deal, he's badly damaged...

Paneuro Turn 3. Far supporting Bunker 3 Targets a Combine Assault Suit - the HW in Bunker #1 vaporizes him - Damn! Nothing else of note occurs.

Checking the Math, on Combine Turn 4, the withdraw from DF of Bunker #1, which has a Heavy Weapon. 
...it's time for Combine to beat down Bunker #3 with long range HW fire. Still, they Maneuver an Attack Drone closer, but with a faithful Combine symbol appearing, nothing is gained against the Drone from Bunker #3.

On Paneuro Turn 4, the HW 'suit fires on a HW wielding Standard Suit, but despite good odds, blows both Fires thanks to handy Combine symbol '1s'!!

Enough is enough! says the [damaged] Combine Command suit!  They rush the Panueuro Bunker #1 on Turn 5 with all they have - he can't Fire at everyone, right??

Paneuro Turn 5. They max their Targeting capacity and shoot what else they have. They manage to trash a Standard 'suit wielding a HW!

Combine Turn 6. They rush Bunker #1 and dogpile it, severely damaging the 'suit to the point where the HW can't be used.

Still, on Paneuro #6, the damaged 'suit manages to Shock an Assault 'suit!
Also, the other HW 'suit is Damaged and Panicked!

Combine Turn 7. Meanwhile, the Assault 'suit wipes out the 'suit in Bunker #1. The Command suit works to help to rally the Standard 'suit that has been damaged. 
The Combine work to return Assault 'suits to man the Heavy Weapons.
With these, they batter the remaining Bunker...Shocking both 'suits...
...and the undamaged 'suit panics and Jumps High! He is wiped out by Reaction Fire from the Combine force. Game Over!

But to count the cost... after a tough mid-game, the Combine lost one each of an Assault and Standard 'suit. The Bomb Drone, blew up...but is that really a loss?  The Command and one Standard 'suit were both D3 [heavily Damaged]. Two Assault suits were intact, each wielding one Heavy Weapon. The Recon and Attack Drones also survived.
Meanwhile, the entire Paneuro force is wiped out. Two bunker's survive, but they will either be destroyed by the Combine or occupied...

Overall, this was a pretty wild scenario, and the Combine's slender advantage was almost negated by the Paneuro Bunkers. While the Combine got to choose the time and place, and they also prevented any Paneuro maneuvering through significant firepower threats. This - barely - allowed them to overwhelm the toughest bunker that had the Heavy Weapon which also prevented the most dangerous threat to the Combine force.

A few things worthy of note:
- the game mechanics of individual Unit activation v. Reaction Fire pretty much result in a carefully balanced situation of Actions v. Reaction Fire. 
- This does result in a somewhat 'choppy' feel to the Action. This may be suitable for Skirmish games, YMMV!
- true coordination and coordination feel is somewhat lacking.
- most situations are tense with tactical decisions. If you want this in a game, then this is for you!
- if you want to emphasize the 'make a plan, decide on the plan, execute the plan' aspect of warfare, then a game with Phases may be a better choice for you.
- I love the old-school graphics; the old-school mechanics of a 2d6 [added, so 2-12] CRT and a buncha modifiers is occasionally wearisome with math. But with play one gets a pretty good feel for what is a right decision, and you don't need to 'pre-add' or constantly calculate to make tactical choices most of the time.

The changes I made worked great!  Totally satisfied that I have slightly adapted a classic 80s game to the 2020s and it has the best of its design with a bit of streamlining.  

The only thing I want to try out is to divide activities into Phases, a la Team Yankee and the First Battle design by Frank Chadwick.  I think there is a bit of a sweet spot with using Phases while retaining a jump'n flying feel to the game that is futuristic.

We'll see!