Showing posts with label Star Wars. Show all posts

Friday, June 28, 2024

100% John Lambshead! Sci-fi Skirmish and OHSW

Two books that go great together: 
"One-Hour Skirmish Wargames" & "Sci-fi Skirmish Scenarios" 

For this playtest, ultimately a test of both the OHSW rules and the SSS scenario, I decided to go with a campaign listed in the SSS book. I am such a sucker for a good campaign effort! There are three and all look very well done. I picked Campaign 2: Corporate Rivalry with the intent of using this matchup over a few playtests which would result in a strong narrative, enhancing the enjoyment of the scenario. It seemed to me that the clash between the lowest level of The Empire and the Rebel Scum resembled two corporations more than the alternatives.

I marshalled my WoC Star Wars plastics, Infinity terrain, and ESS game board, and threw it all together in about 30 minutes.

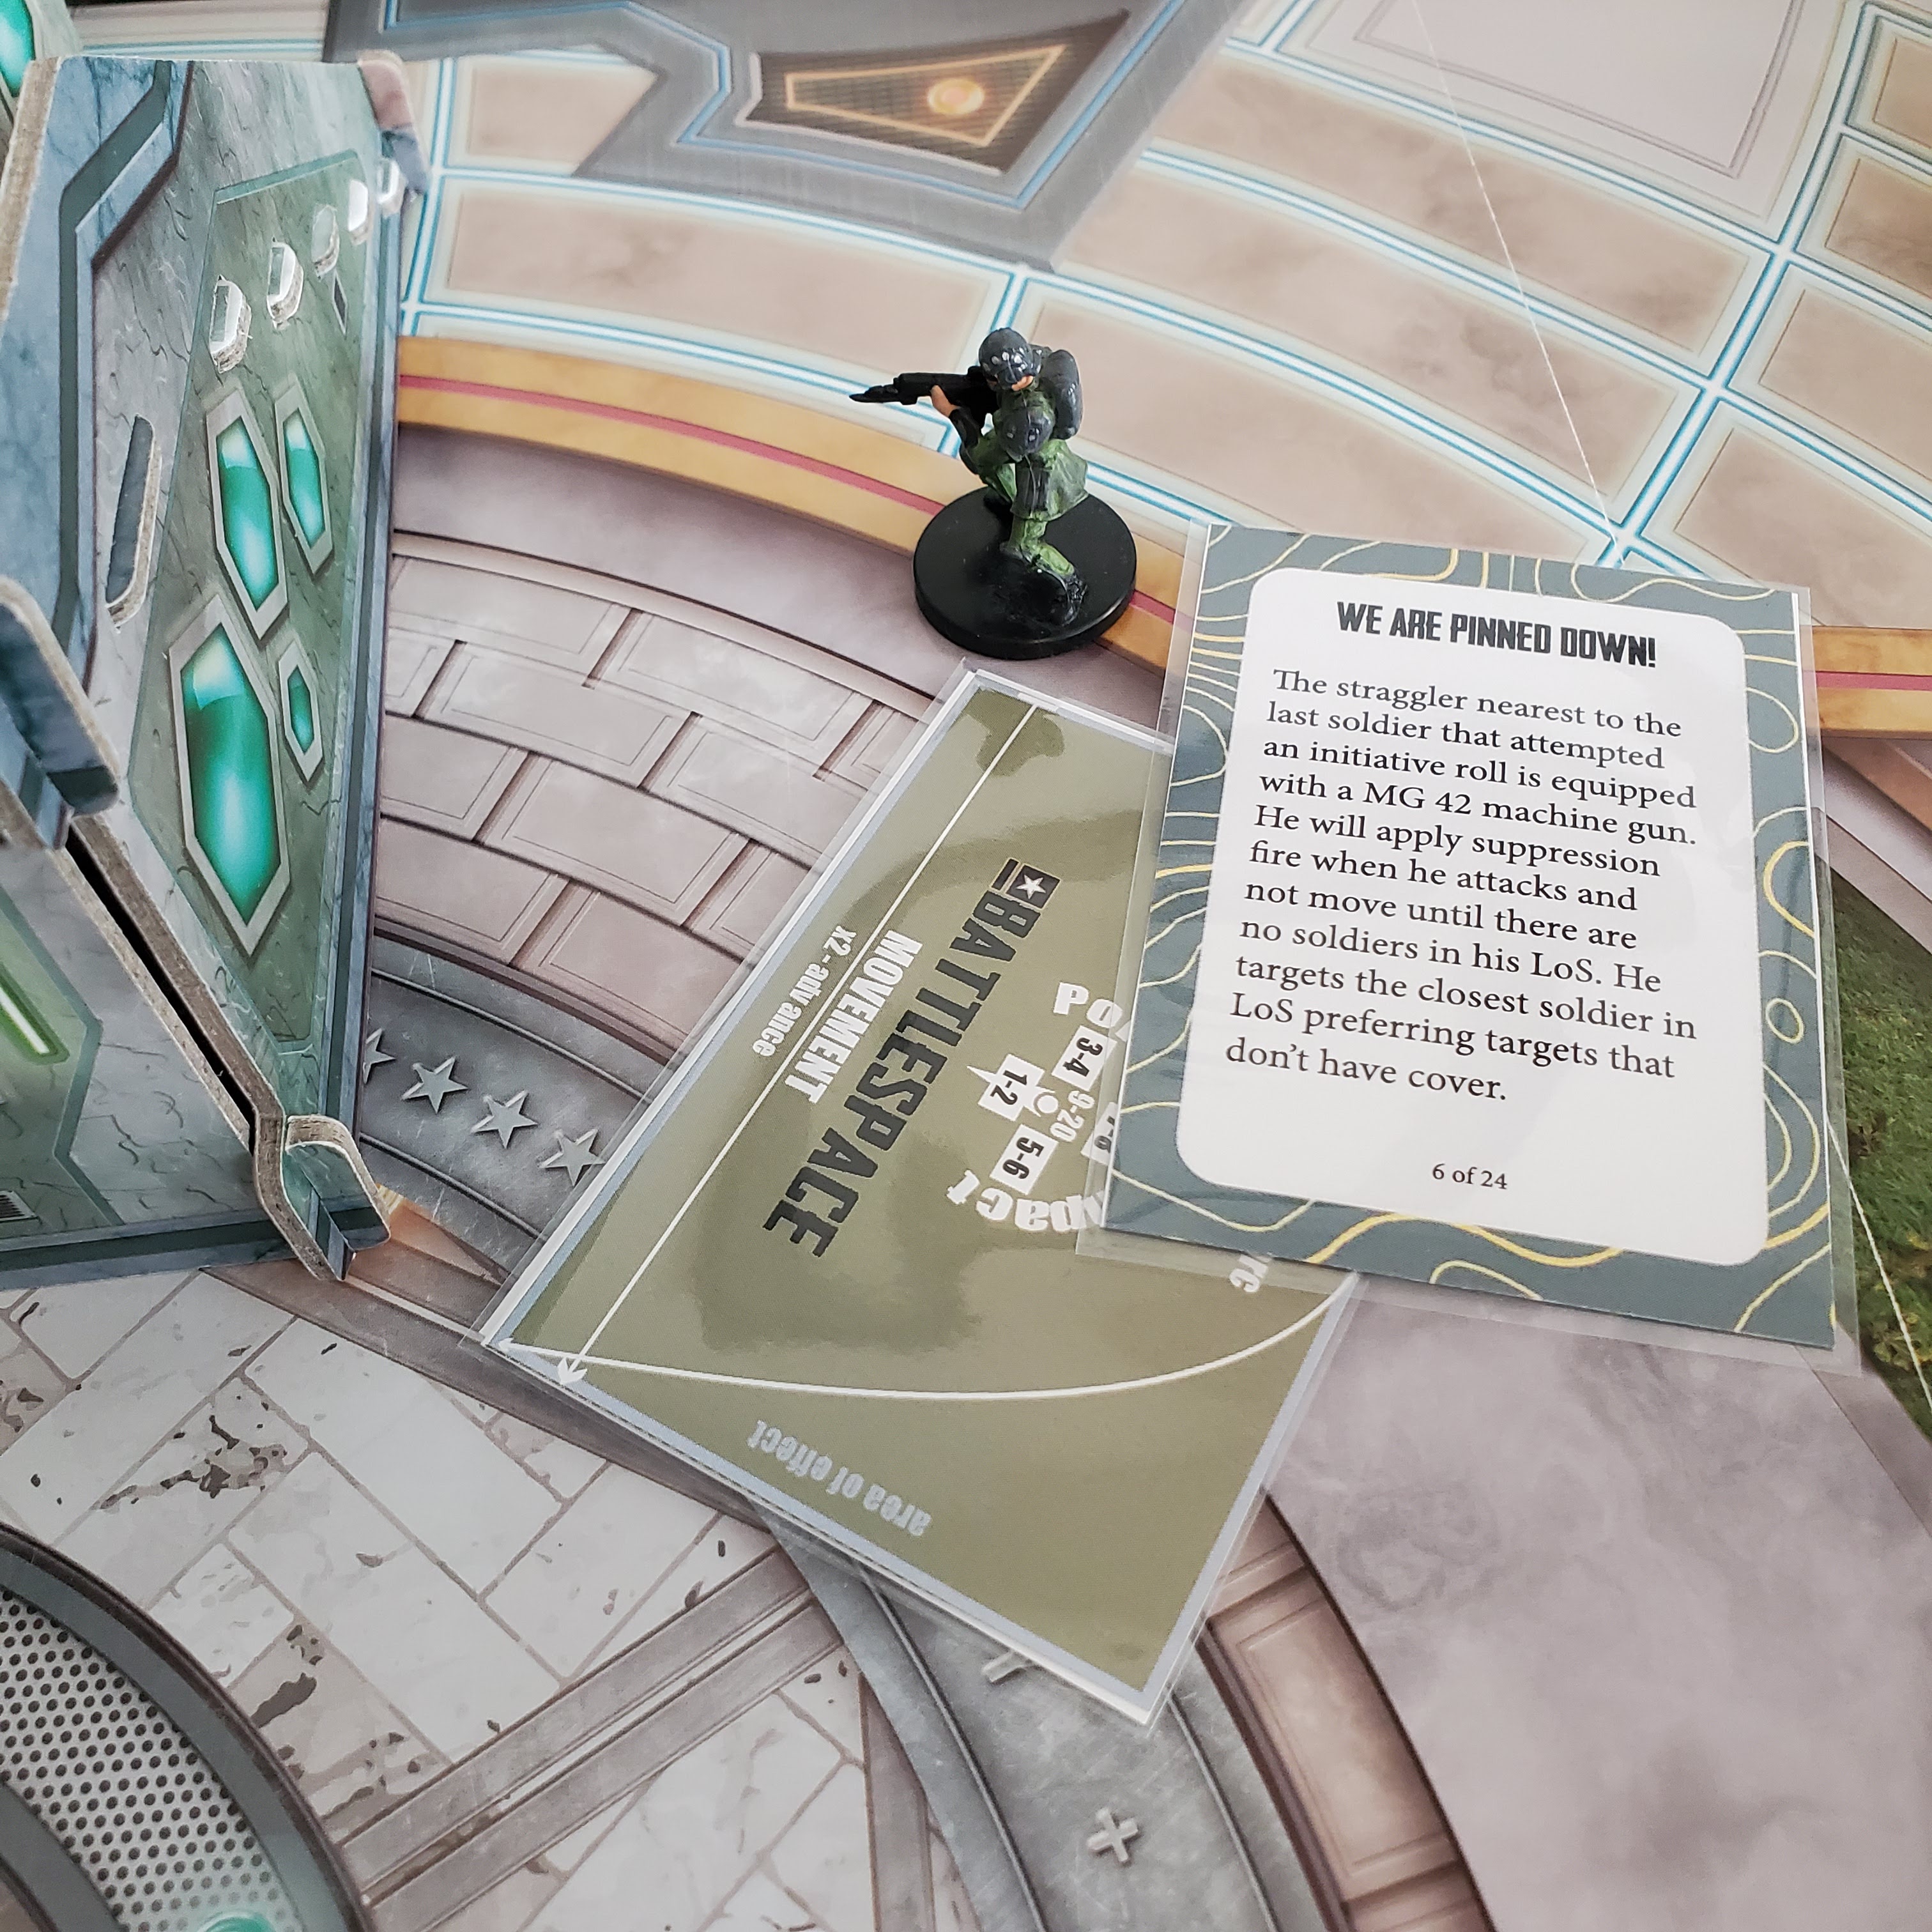
The Defenders of Law and Order in the Galaxy: 4 stormies [one a Leader] with Assault Rifles [2Shots @ 18", 1 Shot @ ], a fifth with a SAW [3 Shots / 2 Shots]. I didn't get into more weaponry because this is not an intense combat mission.

Scum & Villainy. 10 Scum, variety of weapons including 3 with nothing but Close Combat weapons. Rest with pistols, ARs, Rifles.

The table: hardboard by Enemy Spotted Studios, a generic arid ground at 2'x2'. The cardboard buildings are from Infinity, and are a great inexpensive grab for a busy gamer.  Few of us have the time and money to buy solid terrain and paint it as well as these have been illustrated. Altho the cardboard attachments [flap and slot] are visible, during play you don't really notice them.
This scenario is #1.2 Data Drip from the SSS book. It involves 6 locations where data is being randomly downloaded. The Sides are both trying to secure the locations, insert their thumb Drive [or whatever], and therefore be in a position to successfully acquire the data. Interestingly, and a good plot twist, is that the data is rolled for randomly with 3d6 at the end of each Turn. The 6 locations are numbered 1-6, and the rolled value of the dice is where the data arrives for that Turn.

The four buildings and the two taller signs are all data download sites. There are also 4 low "jersey barrier" type obstructions that are simply terrain. To make the board a bit more interesting, I used a Rezolution scatter die and also angled each piece to vary where the steps were and how the sign/barrier was aligned. This immediately made the board a more complex situation that had to be analyzed.

For the game the Stormies were outnumbered 2:1, so had a bit of a weapon edge, and also the option to use their Initiative [IN] card or a drawn card for their Action Points [AP] when they won IN.  This reflects their superior training.

In OHSW, a Game Turn can have multiple "Impulses" of player turns, which alternate until a Joker is drawn. So it's not unusual [depending amount of Shots, usually] for there to be 2-3 Player Turns before the end of the Game Turn.

Turn 1, Impulse 1. Imps win IN and choose to enter the East board edge which has the most Data points closest together. They draw 8 AP and get a solid foothold on the East edge of the board. The Scum draw a 2 AP and bring two scum from the opposing West edge. Outnumbered, they have to await a better impulse to come on in force!

Turn 1, Impulse 2. Imps draw 13 AP with the King. They move into position, inserting their drives ito the data dump points, and secure all four. Their first Shot, they draw a Joker... Turn over! They get 2 points of Data with the 5 and 6.

Turn 2, Impulse 1. Scum win IN, draw 12 AP, occupy the two Data points on their side easily, Down one Imp with a Shot.

Turn 2, Impulse 2. Imps do well, getting a buncha AP, Down two Scum and put 2 Imps on Overwatch. This is a house rule, allowing a side to pay one AP and take a Shot at any enemy that complete a Move in their Line of Sight. Joker is drawn during shooting. One Scum retreats to the back of a building like the cowardly Scum he is, and the other Scum and the Imp stand up, Back in the Fight [BiF].
Data dump results in one to Scum, two to Imps!

Turn 3, Impulse 1. Scum get more people on the board, Down two Imps. Imps shoot back, Down 3 Scum. During shooting, Joker drawn, Turn ends. One Scum is dead. one Imp retreats, another is lightly wounded, needs first aid. Other two Scum stand up, BiF.
Once again, Fortune favors Law and Order, and Imps get three data dumps, for a 7-1 lead!

Turn 4, Impulse 1. Shots all around result in two Imps going Down. One is fine, the other is lightly wounded. Situation is getting dicey as the Scum build up their strength! Still, Imps are winning 10-1 in Data Drips, so only question is when the game will end.
The yellow chips are Overwatch chips. The mechanic seems to work OK thus far. Knowing that if you cross an open space over 6" wide the opposition can take a Shot in the open has discouraged some closing in from the larger Scum force, which is half pistol or CC weapon armed. OTOH, they have managed to scoot across when there's no Overwatch, so it isn't an overwhelming advantage, and you do need the AP to use it.

Turn 5, Impulse 1. Effective use of numbers has resulted in Scum presenting numerous threats.  At top, a Scum [no gun] may attempt to steal either Data drive [on the building, at the tall sign] or get on the roof and attack the Down Imp.
At bottom, Scum managed to Down lone Imp on roof - he's getting surrounded. They also managed to advance two Scum to the data point next to the building at the sign, altho one was put Down. Having secured 2 Data points, and threatening 2 others... can they seize the Initiative and catch up?

Turn 5, Impulse 2. Resolving Down Figs, one Imp has light wound and needs first aid [9 hearts], the other is BiF. The Scum take one Out of Fight [OOF] near the Data point to right. They still have an active threat across the board, but have to catch up with the Data drip die rolls. Under time pressure, the Scum are going to have to take risks to steal a win. The best way to do that in this scenario is to seize the Data drives [disk, thumb drive, whatever] from the Data points. The Data 'drips' are on them, so it is literally stealing the win from the Imps. Let's see how it goes...

Scum manages to remove the Data drive from Data point #5!
Imp manages to gun down said Scum, altho we don't yet know if he's dead, etc...
No matter! Imp engages the Down Scum in CC, OOFs him and seizes the Data drive back for the Imperial cause!

Meanwhile, at Data point #2, another Scum makes the same attempt, successfully removing the Drive [blue marker]. Imp manages to Down him.
Imp engages Down Scum in CC, but manages to lose and is himself Down. I modified the outcomes for CC a bit in this playtest - the main issue is around what "Down" represents...possibly Pinned, Wounded or Dead and how to handle this

Turn 6, Impulse 1. Scum seize IN and spend buncha AP to Down the Imp with the Data drive, then send Scum over to steal it and escape most of the way back to their table edge. This Drive has 3 Drips on it, so will put them in the run for a win.
Not having any of that, Imp dashes over from NE building and guns Down the Scum!  Now, to secure that Data drive again...
Drive #2 has been secured by OOFing the Scum at Data point #2.

Turn 6...Impulses 2-7. There ended up being a lot of Impulses this Turn. In the end, the Imps managed to secure all the Drives and gather together to hold out at their main building for the game to end. The two Drives that were nearly stolen did contain enough 'drips' [6] to change the outcome to a 9-7 win for Scum if they had pulled it off. However, the Imps managed to edge out the Scum at key moments to desperately hang onto or retrieve the Data.

After a very rough Turn 6, the Scum also flee the field after taking 8 of 10 casualties. This and the Data drip points mean that the Imps can claim a decisive victory in all aspects of the operation, casualties and Data collected.

This scenario was somewhat thrown together, and the 2-1 ratio of Scum to Imps was a best guesstimate. The Imps had a firepower advantage man to man, but the same firepower force to force. The Imps also had superior First Aid outcomes, and about half their "Out Of the Fight" outcomes resulted in mere retreats instead of actual wounds. As for the wounds, they consistently ended up with only a light wound [with the possibility of a serious wound instead] due to fortunate cards.

Regarding fortunate cards... the Imps managed to win Initiative and draw high AP cards on at least 2 occasions at the game start. This allowed them to:
- pick the table side that had the most Data points to enter from,
- quickly secure the points and insert their Drives,
- outnumber and easily hold off the Scum from challenging them,
- the random rolls for Data point 'drips' were almost entirely in their favor. The Scum secured points #1 and 4, the Imps #2, 3, 5, 6. Most of the data came in at 3, 5 & 6. This forced the Scum to have to try and secure Data drives in high-risk maneuvers.

This scenario could easily have gone either way if fortune had been a bit different. The Imps may not have been able to secure as many points as quickly, and more Data may have arrived at the 2 points the Scum secured [as it was, only 1 point did!]. Still, the Scum may have gotten away with enough stolen Data drives to win had the Imps not successfuly fought them off.

Overall, I feel like this scenario was a nail-biter that could easily have gone either way, and was mostly about player decisions being driven by the scenario, not luck.  I think the possibility of either securing Data Points OR stealing Data Drives leaves both sides with options, and all that a "steal" attempt needs is the right tactics and cards.

So this start to the campaign leaves me with a very positive impression of "Sci-fi Skirmish Scenarios", and eager to play the next campaign game!

Thursday, January 11, 2024

"Battlespace" by Table Salt - A Review"

"Takes up a lot less space than an actual Battlespace...!"


"Ultra Modern" as opposed to "Modern", or "Historical", this game has some traction in the Wargamevault world, and I can't remember how I found out about it - sorry.  I went thru the trouble of printing and reading it all about a year ago, then life got in the way and I am now just getting back into it even as a "2nd edition" is being published [by Modiphius at $45, they published the "Five Parsecs from Home" rules in a nice complete edition that is on my shelf].  No complaints there, but that is for a future review, possibly.

This review is about the so-called "First Edition" that is still a download at Wargamevault here [CLICK] for a very reasonable $9.00 U.S.  If you don't like detailed reviews, then I'll say that the BLUF is:
"Go and buy this, then fine-tune it to your own tastes!"

The rules are not tight, but they are only medium complex.  Altho the designer apparently wanted to head into the "drop-dead simple" sphere, he still ended up with medium complexity and a design that has some loose ends.  

Also, I doubt some of the game mechanics reflect reality, which is a shame because with a little effort they would have been substantially more realistic at zero additional complexity than as they are presently designed. Still, as a solo gamer offering, they are a great deal and worth picking up.  

If you want to use these as a competitive set of rules for your not-40K multiverse, you are barking up the wrong tree unless you want to make your own game cards and such [not hard] and tighten up the game a bit for more competitive play.  That being said, I can see playing the AI as a GM to also be fun.

The rulebook doesn't take much to plow through at 10 pages of rules plus six pages of Advanced Rules, followed by five Missions and a moderately useful appendix of "keywords". There's VERY modest amounts of text with lots of diagrams and pics, so it's likely these could've fit onto just a couple pages without formatting. Hopefully this gives you an idea of how modest an effort it takes to get started with these rules.

THE KEY ASPECTS
"Battlespace" is a solo game that pits the player with a Team of Soldiers against a varied number of "enemies" who are activated with an Artificial Intelligence mechanism [the AI] and are loosely predictable in what they will do. The Team must attempt to accomplish various objectives in the five missions included. 

Requirements: print out the materials. Four Team figs and at least a dozen Enemy are needed, along with terrain, a tape measure, a d20 and a d6.  Space is modest, as little as 2-3' square and you can fight a good game. Cost is $9.

Turn Sequence. Interactive I-GO, U-GO.
  1. Player sequentially Activates each Soldier in his team to perform an Order - two if you pass an Initiative roll, three if you max the roll - with possible interruptions from the AI cards.  
  2. Then AI goes. 
  3. Last, there's an administrative phase.

Soldiers get two Orders, usually, but can't repeat them.  So you can't shoot-shoot, or move-move. I find this needlessly unrealistic and annoying, in that it forces you to Move constantly, whether you want to or not.  I think it would play better and be more realistic if you could freely choose Orders.

There's no overwatch mechanic. There's an element of Action-Reaction depending on the Initiative rolls.  While this substitutes sorta as an overwatch mechanic, you still don't intentionally assign Soldiers to overwatch.  This is an example of "feels less real, but coulda felt a lot more real with a bit of change for little added complexity".  

Still, I think players can get a feel for "Fire and Movement" which is critical to all modern combat. This is because you can sequentially activate Soldiers to fire until you achieve your Fire goal. But you don't feel like a real TL doing it.

Combat Mechanism
Roll a d20 for equal or higher than a number to Hit the enemy or avoid being Hit by the enemy [this number is typically between 9-13, the lower is easier to defeat].  Modifiers will affect the roll. 

Grenades use a device called the Maneuver Card to arc the throw, which can then deviate exactly forward, backward or left / right. The card is a clever and useful tool.

Suppression may be used - it has no chance to harm enemy, but it makes it harder for them to harm you and they can't move, only shoot. Overall, this works OK but in a very simple way. For a bit more effort, I think one could use a die and work for Fire Superiority which would result in Suppression of the Enemy, i.e. "Pinned", but it's a solid mechanic.

Movement
Players use the Maneuver Card for Moves and to keep the Team and Enemy in cohesion if needed.

Morale
There's no significant morale aspect to the game.  Both sides will largely fight to the death or accomplishment of the mission.

Enemy [AI]
The Enemy usually start with a few figures on the board as Stragglers or Groups. More may appear with the cards; these are flipped over when Soldiers fail Initiative, or one gets flipped at the start of the Enemy Phase. The Enemy are not particularly bright, tactically. This suits some irregular forces but not all, and one may feel the need to smarten them up a bit.

Card are also used to retain and display information, both on individual Soldiers [below] or Enemy.  As you'd think, the info on the player's force is a lot more details.  They can also be enhanced with Gear cards. Again, these are nice additions but the limits are often unrealistic, e.g. the underslung Grenade Launcher has two shots, and typically a Team Grenadier in real life carries a lot more in a combat load. The SAW rule didn't feel right to me, altho it does enhance the Team's lethality a bit. etc etc etc.

This entire play-thru is using the RAW [Rules As Written] and so I started with a team of four grunts and 12 points of Gear.

The mission was, of course, Mission #1!  In this mission, you must head to the site of an ambushed Humvee and search for survivors.  There are a few threats lingering around, and you must start at the bottom-left roadway, clear the Humvee wreck and exfil off the opposing table edge.  Simple, right?  Right??

Below, my proxy stormtroopers, keeping the galaxy in a rough semblance of Law & Order while Rebel Scum try to undermine it and embolden organized crime like the Hutts! The table size is around the 2-3' recommended [using an Infinity mat] and the rest is pretty much straight out of the book, with four buildings and some scatter terrain around.
At left is my Stormy team, towards the right is the downed flyer that was ambushed, with a Straggler and an Element of three creeps lurking near the crash [torturing the pilot??].  Above them is another Straggler. These match the red indications of the scenario pictured above, almost perfectly. 

Below, my Imp team with a Team Leader at top left, followed [clockwise] by the Grenadier, Medic, and Radioman.

Scum ahoy! Crash site, with Element of three Scum, and two Stragglers to left and well above [the Jawa].

Turn 1, the Imps Activate and Advance three Soldiers to Concealment.
But, the last Activation of the Grenadier fails [on a '5'], so the Scum get to draw a SITREP card, then roll a '13' for "Enemies Alerted" and then a '6' for that many Stragglers entering - their force has more than doubled in size already!
Card is a bit confusing, but I interpret "1d6 straggler enters the mission area from random edges furthest from the Soldiers" as 6 Stragglers [diced] enter the Battlespace from the edge farthest from the soldiers.  Hope I'm right... And here they are below.  I spread them out evenly as they are "Stragglers" but there's no directions on that, and "yes, it matters".

As that was the last Soldier Activation, I make the usual SITREP draw, and get an LMG upgrade to an Enemy.  As he has no one to Fire upon, he moves the fastest way to get into a Line of Sight to the enemy.

The Scum enter and take up likely positions. Turn 2, the Imps fire a grenade from the Grenadier's Grenade Launcher [has 2 rounds] and it Drifts to the left and misses all Targets in a Target-Rich Environment!

The Peacekeeping Imps advance boldly up the flank endeavoring to take up a position in the highest building, eliminate the opposition and scout out the wreck. My radioman rolls a '20' for 3 Orders, Advances at the run, then takes a shot and jams his weapon on the '1'!  Clearly, we have to emphasize basic Soldier Skills in a Hostile Environment here...

I draw a SITREP card for Turn 2, and a Rebel Scum Pilot pops out of the building nearest the Team, but misses his shot.
Turn 2 Scum move into positions to Fire, and hit the Grenadier despite his Cover.  He takes some wounds thanks to facing half the Scum all by himself!

Turn 3, Imps advance along the building, eliminating both the pilot and a random Scum.
Scum manage to put a 3rd Wound on the Radioman.

Turn 4, concerned as I was about our Radioman who was 1 Wound away from being Downed, my point man stumbles upon an IED, fails the Threat Level roll, and is Downed!  The Team Leader behind is also knocked prone by the blast.
the stairs are an obvious place to trap, we should've known!


Turn 5, the Imps plow forward up the stairs, dragging their Downed Radioman who gets successful First Aid and drops to four Wounds, which still means he's Downed, but he's not KIA.
Along the way, the Imps are taking out a few Scum.

Turn 6-8, the Imps completely wreck the Scum, killing nearly all of them, despite the fact that they're dragging a Downed trooper and have a Wounded man. Firing from atop the building definitely helped, and the SITREP cards have been either irrelevant or not very dangerous.

Below, around Turn 9, the Imps get onto the wreck, and discover that the survivor [if any] is missing on a '5'.
Despite the heat they've gotten, the Imps press on to EXFIL the opposite board edge from the one they entered.

Even as they look forward to an easy exit, the SITREP cards turn against them, delivering three ambushing scum on three consecutive turns, all from the building closest to the Team Leader.  They are mercilessly cut down, but the TL takes a couple Wounds along the way.

Another Scum exits the same building...

Finally, our Heroes in White are ready to EXFIL the Battlespace, but the Scum finally get a good card, and three Stragglers enter, two of which are Trained Soldiers. I had to pick an entry point, so I diced for the board edge, then had them enter board center as you can move'n shoot in this game, which seemed unbalancingly good to me.
The Reinforcements enter along the flank, but the Imps have moved too fast for them and they take a few potshots that miss as they spring their cowardly ambush.

They inflicted one more Wound and then the Imps EXFIL the Battlespace, Dragging one Downed trooper and one with 3 of 4 Wounds [red chit].  The others are worn out but OK.  And they whacked one last Scum on the way out!

Counting the Butcher's Bill: The Scum lost 16/18, and the Imps took 9 wounds of 16 available, Dragging one Soldier to safety and another limped off with 3 of 4 Wounds lost.

This was a suspenseful and successful solo game from a solid solo system. 

Overall, I'd say that it is:
Engaging, has Strong Narrative, High Replay Value, is Moderately Complex, has Good Support [mostly thru Fb here: CLICK], would be a Gateway Game if run by someone with experience, and is fairly realistic. While it is a bit "general" by nature, and doesn't necessarily invoke modern war except with the card details, that can be seen as a good thing as you tweak the game for almost any combat from 1916 to 2016.

The cards introduce a random event into the narrative. However, it is random, and you usually can't do much to prepare for it except stay together and hope an that IF you fail an Initiative test, you fail it early so the rest of your team can react to it.  

With the turn sequence Player then Enemy, the Enemy always get a "counter-move + attack" and you can't do anything about it until your next turn.  This can be overwhelming if the enemy force gets plussed-up with SITREP cards.  This is a good example of why an Overwatch mechanic is essential - you could detail 1-2 Soldiers [preferably one with a SAW] to act as your Base of Fire, then hose down any skunks that showed their head. Yes, I will introduce this myself for my games, along with Concealment +2 and Cover +4 bonuses. Still, should I have to implement these changes? The alternative is that you "game the AI system and hunker down for a turn or two while the AI sends you the wave of attackers piecemeal, then you pop out and shoot them.  This is also the weakness of the inability to repeat a named action - you have to do gamey unrealistic things to avoid game consequences.

On the one hand, I feel like if the design goal was a simple [not simplistic] game at the expense of realism, it is a bit complex for that and some mechanics could have been simpler with no loss of "feel". 

If the goal was a moderately complex game with high realism, then I find some game mechanics and "game tactics" seem unrealistic.

Still, it is easier to tweak the rules for this game than to design from the ground up, so I say that the overall package is "highly recommended" 

Should also be noted that "Battlespace" has fan support and additional modules for Seals, Cover Ops and such have been created and are free at the Fb page Files section.

So go find your own "Battlespace"!

Friday, May 12, 2023

"In Country" Playtest

It's time to go 'In Country"!


Had the rules for a while, but with a box set on the way I had to hit them and see how they played. They *read* well, but the proof is on the table!

Below, I grabbed my new Infinity terrain and assembled the last few buildings.  This wasn't too difficult, and they definitely look better than I could paint anything [more on this cardboard terrain in another post!], plus you get a play mat.

So who should fight on this futuristic terrain?  Star Wars flunkies, of course!  Below, Rebel Scum as 2 x Tier 4 Insurgent Groups and a Veteran Insurgent Group [2 Rebel commando advisors].

Facing off against them, trying to preserve peace and order in the galaxy, two Stormtrooper teams as US Ranger Assault Elements - the grenade launcher is the big tubed thingy...
Scenario is "Intel Grab".  The Insurgents must search the two droids at table center and exfiltrate with them.

THE RULES
A quick overview is probly in order...
  1. Turn is IGO-UGO alternating by teams, but if enemy teams are not in a Defensive or Suppressed stance, they will likely react to the activated team by Returning Fire.
  2. Activating Teams may do one of three things: 
    • Reposition- Move Full and take cover, 
    • Engaging - Fire at full effect, 
    • Assault - shorter Move w' a Fire.
  3. Key mechanic: Grips. These are a sort of quality level, each in three values, e.g. 4+ / 8+ / 10+ for Easy / Normal / Hard. A model must roll that number or higher to succeed in a desired action, such as shoot, rally etc.  They are intelligently used as the main shooting mechanic. 
    • Rather than have lots of charts or modifiers, most mechanics are expressed by Grip difficulty. But quality varies by team, as you would expect, with elite Special Forces having much better grips than Insurgents.
    • This means that if two sides are both Firing at each other and the shot is such that a Normal Grip is needed, based upon Quality there could be a difference of 10-30% btw their chances to Hit.
    • This makes Team quality the most important factor in the game. The value statement here is that training matters most in modern warfare, where similar - deadly - weapons are available to everyone. FWIW I agree.
  4. The many relative nuances of weapons are largely abstracted, using tried and traditional wargame mechanics.
  5. There are numerous scenarios, most of which are sketched out, so the host needs to make intelligent decisions about the specifics.
  6. Generally, the game emphasizes recent / contemporary "reality" in its terminology, attitudes, terms, etc.
The rules themselves are a sort of living document, quite in fashion now, whereby they are easily available [free or cheap] from the publisher.  They are a half-side booklet of 50 pages, so really 25 pages at full size. The company is really making money on the hard product: figures, vehicles, card decks.

Scaling up / down. There are a few different ways to play the game, activating by Teams of 4-6 models, or Elements of 2 models, or squads of 2 Teams.  Ergo, it is easy to scale up or down according to availability of figures, time to play or desired level of combat, i.e. Team, Squad or Platoon level fights.

This is great as it means a new gamer with 8 painted models can host a small game with the same rules as an accomplished gamer with 80 models, and you aren't learning different mechanics.  The contrast would be Games Workshop, where you play 40K with 80 models, Killteam or Fireteam with 8 models, and an RPG with just a few figs, and each set of rules is different.

Culture.  In game culture, Enemy Spotted Studios emphasizes keeping it real and having fun, not power-gaming in tournaments. If winning matters a lot to you, the best approach would be to set up a 2-sided fight, play each side, and the winner is whoever did best overall. This is also a best practice for Newbies who are still learning how to balance forces, set up fair scenarios, etc.

It should also be noted that the company is veteran-owned and donates 10% to help vets out. There seems to be a fair amount of actual Soldiers and vets involved, and therefore the language and terms that get tossed around in forums, etc, may be offensive to those not in the military / first-responder professions.

Hopefully, this short explanation will keep you from getting lost in the following BATREP!

*************************************************************

As the Attackers, Insurgents take the first turn, choosing the board edge that has the most cover and higher buildings. Team 1 Repositions left, Team 2 Repositions right. This allows them to move onto the board as fast as possible, then they take up a Defensive stance [blue shield markers].
R4 Astro droid and Medical droid objectives.

Team 2 with their Defensive marker.   Basically, it makes them a bit harder to hit.

Stormtroopers Assault! onto the board, moving a little less but they get a [poor] shot at the end of the move. They roll two '9's and hit a couple of creeps despite their Cover!  Only one passes his Normal Grip to save the hit, the other is down.

Encouraged by Team 1's success, Team 2 likewise performs an Assault! onto the board. However, in more typical Stormtrooper fashion, all three shots miss [the GL can't shoot on an Assault! Measure, i.e. action.

With a third team, the Insurgents kinda get to go last [I think], and the Veteran Insurgent Team also Repositions onto the board, but takes advantage of the Locals special rule to enter a flanking board edge.
The Stormtrooper guard is just there to look cool.  It's the Security Police HQ, after all...

Turn 1 ends with Insurgent Team 1 easily passing a Normal Grip to avoid Suppression, with a 9. The Injured Insurgent is removed as Critical [in these basic rules...].

Turn 2, Insurgent T1 fires and misses. Stormy T1 does a Return Fire and Aces two rolls [badly missing with the third].
They choose to use their Ace rolls to force the Insurgents to roll against a more difficult save, aka a Hard Grip - neither makes it. He then goes Suppressed. Can't blame him!
Insurgent T2 just plain misses, needing 8s.
Stormy T2 Returns Fire and misses as well.

Stormy Player Turn 2 begins with T2 performing a Reposition to get into better cover. Insurgent T2 gets a hit with their Return Fire. The Stormy blows his Grip [save] and goes down.
Team 2 then rolls for Suppression, and fails w a '2'. Now this is more of what we're used to from the films...

Stormy T1 Performs and Engaging! Measure, and shoots at long range with the Grenade Launcher at Insurgent T2. Another model performs a "Mark" Task and marks a spot on the Board for the GL to try and hit. Amazingly, it does despite rolling a '3'!
"+" Marks the spot, and all models within 2" are whacked!
...and removed from the table.  Ugly!
Insurgent T3, the small Veteran Team also Engages and Hits a Stormy - the Grenadier, no less!  He fails his Grip and goes down.
The Team has just one model that can Return Fire, and he Hits a Veteran Insurgent. They also fail their Suppression roll for take a casualty.
The Veteran Insurgent fails his Grip [save] and goes down. The survivor then fails his Suppression roll.

At the start of Turn 3, the Insurgents have two models left!  The Veteran fails to Execute and remove the Suppression, so will not Perform this turn.
His buddy from T1 shoots and misses.
The Return Fire from the 2 Stormies that can see Mr. Ugly both hit, and he fails one Grip [save] and is down. However, they are Suppressed and shouldn't have fired...oops!

Turn 3, Stormy T1 successfully Executes and removes the Suppression completely.
T2 fails to do so with a '2'.
But they convert it to a Defensive token as part of their turn.

For Turn 3, Stormy T1 Repositions to better Cover.

Insurgent Turn 4 starts with the last Insurgent, a Veteran, successfully removing the Suppression, then missing T2.
As both Stormtrooper Teams are Defensive, they cannot Return Fire and so the Insurgent Player Turn ends.

Stormy Turn 4, they decide to use the Grenade Launcher on the Veteran Insurgent. Again, a model Marks the spot and then the GL gets an Ace hit!
Final Insurgent is dead multiple times over - no save.

Well, that was pretty intense!  I hope I got the Grenade Launcher part right, but it says under the "Explosive" special rule that they ignore Concealment and Cover when firing at Infantry.  As the GL is also Penetrating (1), all models within 2" take a Hit with no save.  Definitely a good reason to spread out!

This was a short sharp fight.  

I figured the open terrain in the middle of the board might be a problem for the Insurgents to maneuver to the objectives. However, they never even had a chance to - the Stormy fire [as Rangers] enabled them to establish Fire Superiority over the Insurgents and then finish them off with the Grenade Launchers.

Overall, there was nothing radical about the rules.  It is basically an IGO-UGO with Reactions possible. A small game of two teams a side means IGO-UGO as you get to Perform twice, once with each team.

The system of shooting and saves is interesting, and this little firefight had good feel with the back-and-forth between the two sides.  The Ranger Assault Teams with their GL are pretty brutal, however, and I carelessly allowed my Insurgents to cluster up too much. Theoretically, I would've only been able to hit one Insurgent with the GL if I spread them out to the max, but I got focused on shooting instead of spreading them out.

The most difficult thing to remember was the unique terms that the game uses, like "Execute" for Rally, "Grip" for Quality, "Measures" for Action, etc. I don't know if the terms were chosen to be more authentic, or if they were chosen just to be different.  I would have found them easier to remember if they were "the same-old, same-old" and if I hosted the game and made a QRS, I might very well switch them to more typical terms.

The Scenarios are pretty rich, and I look forward to trying out some more but with more Insurgents so that the Stormies won't get an easy 2-10 win like this time!

There is also a 1 fig = 1 Unit variant called "Close Quarters" where figs do not act as a team but by 1-2 figs.  That has some more detailed injuries also, which I consider important in these low-level scraps where neither side wants to allow the other to take prisoners.

Definitely looking forward to going In Country again!